- Joined
- Dec 6, 2019
- Messages
- 295
- Reaction score
- 246
- Age
- 109
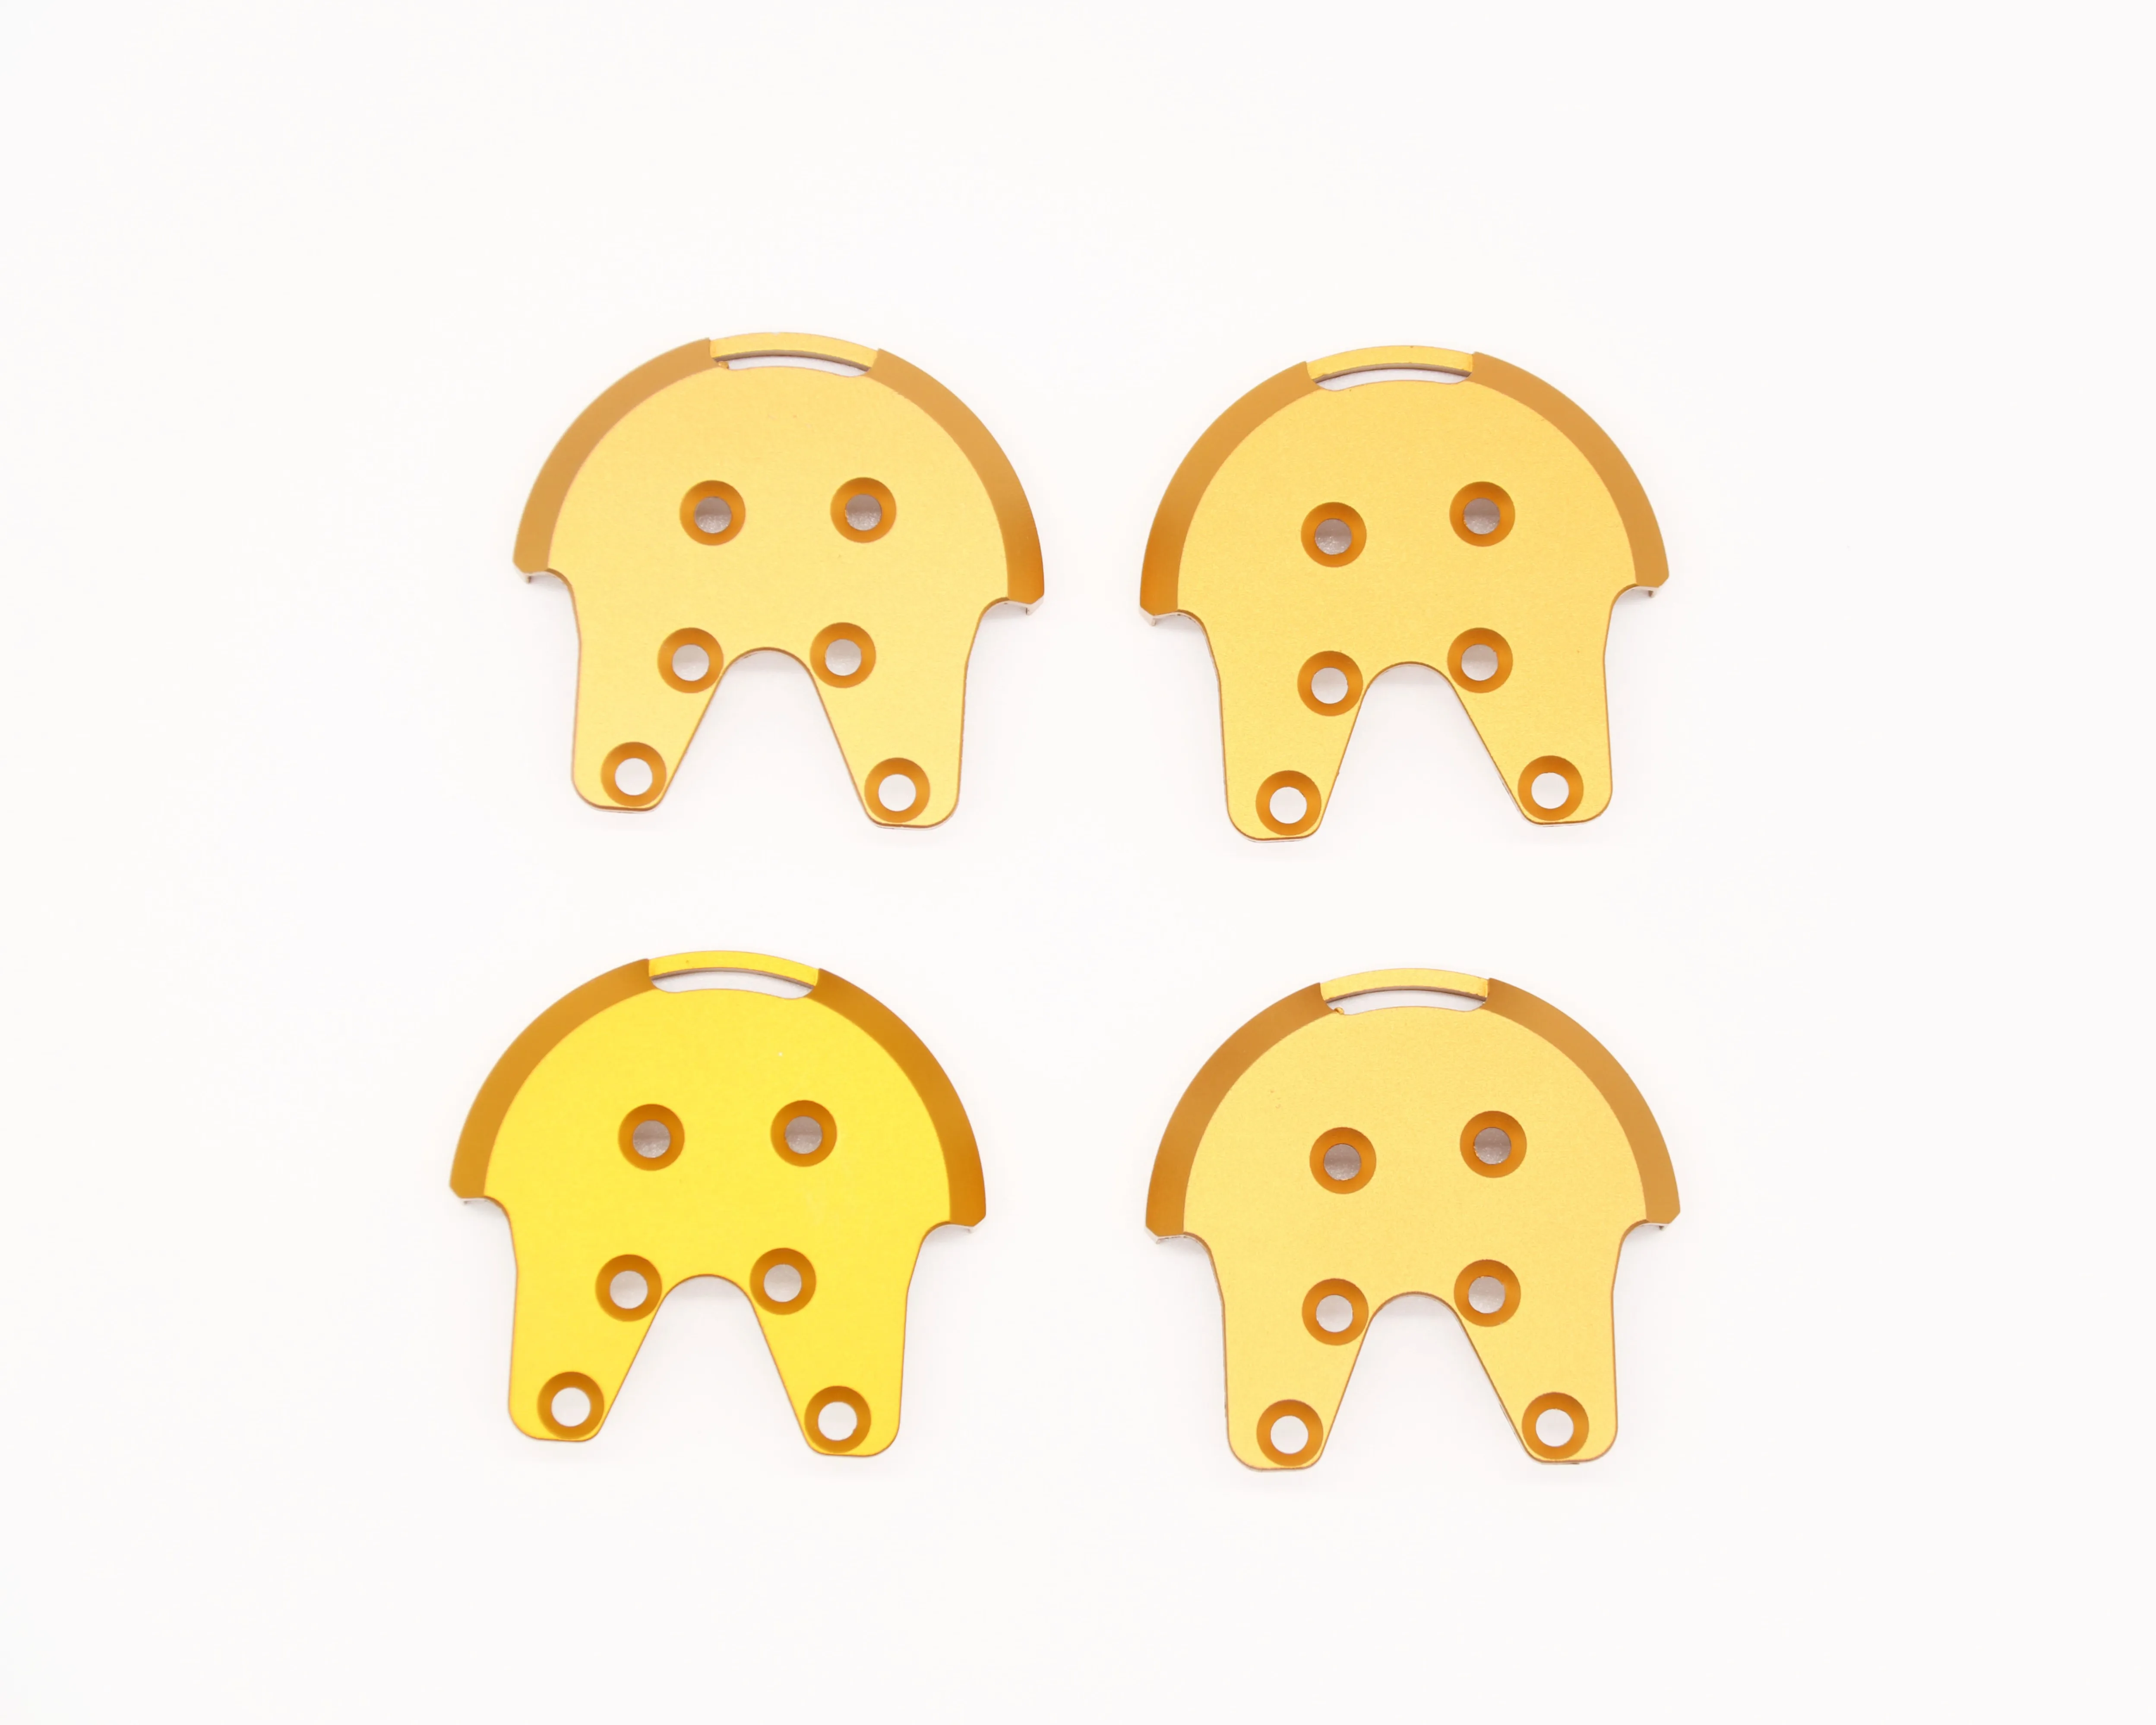
What is it with the P3's? Were they made of enameled cardboard?Tried-and-true Owoda brand aluminum motor supports. Inexpensive and no glue needed. And they look awesome.
View attachment 117434View attachment 117435
Just a couple of the several I have done. No P3 left my house without them.


 weighs about 1350 grams. After about 200 km of flight distance, I noticed cracks under 2 motors. I am using now reinforcement plates like the ones in the link below and there are no more issues. This will add 16-20 grams of weight. Probably you can find them on eBay as well. Bellow is an aliexpress link. The only problem is that can take a while for items from aliexpress to arrive.