Ok as some asked me in PM what I've done to the beast and enhance its capability i shall some up what I've done to it.
First of all the transmitter.
I bought 2 antenna's for wifi.
9dbi and 7dbi.
9 went on the transmitter thats actually a 5.8 transmitter but i wanted to try it out giving me more reach.
It works up to 1.3km with fresh charged mi-mh battery's ( tested today).
Also i have approx 1km with the 7dbi on the wifi extender ( also tested today because i forget to initiate the booster app ).
On how to get the connectors to the outside => youtube.
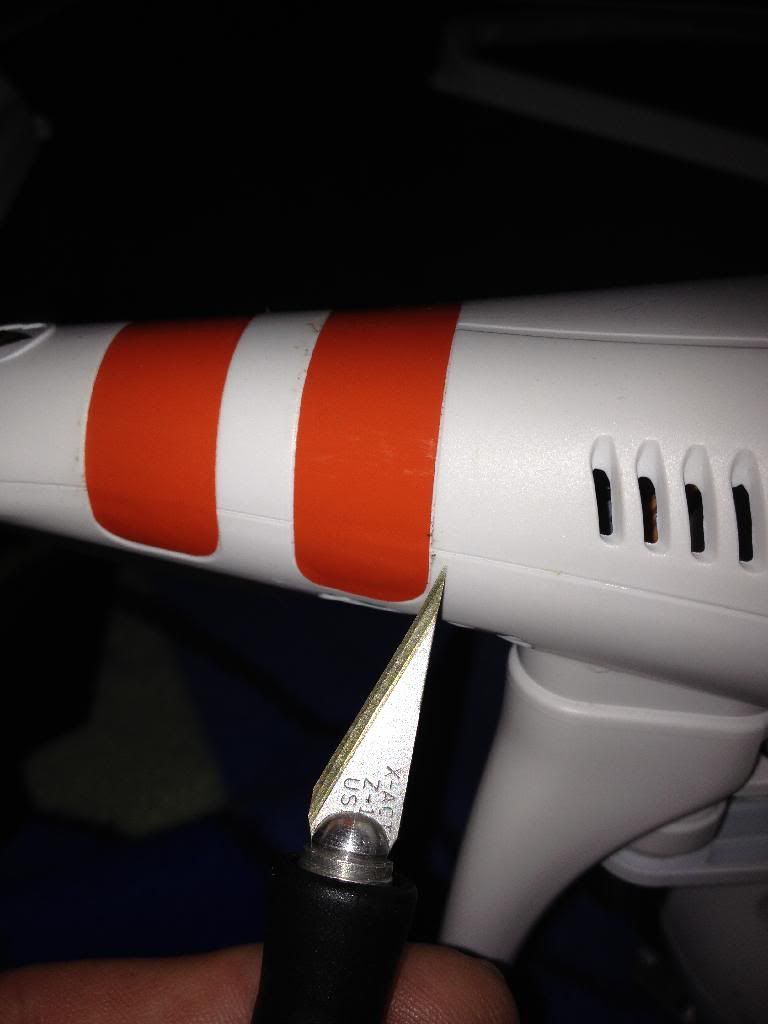
Also i fixed the transmitter connector with super glue. I guess the case is made out of abs and that mets with that kinda glue so it gives a nice firm fix.
Notice how i fixed the tablet to the stock clip. I glued it only with super glue.
As the paint on the tablet gave way in the first attempt i,ve redone it and since then its attached very nicely.
I don't use the tablet for anything else so i just leave it there.


As you have seen on the previous pic i use li-po to power the transmitter now.
Inside i installed a 7805 with a 670 risitor on the negative feed that gives a 6.5v output.
It doesn't need cooling and you have to replace it when the transmitter gives its first warning beep. Otherwise the li-po will be discharged to deep and lead to its destruction. I also have the original battery box over the output and i had to use that today because the neg wire came out of the connector and thus i had to use the mi-mh battery's. The power consumption is about 77ma BUT the only disadvantage is that you have to remove the li-po because the 7805 draws 2.5ma after the transmitter is off. Thats going to draw the li-po empty faster then you can imagine and therefore destructing it when discharged to deep.
There is a other possibility. The 7805 after the on-off switch but that involves messing on the pcb and thats not what i want to do @ this moment.
They snug nicely into the compartment.

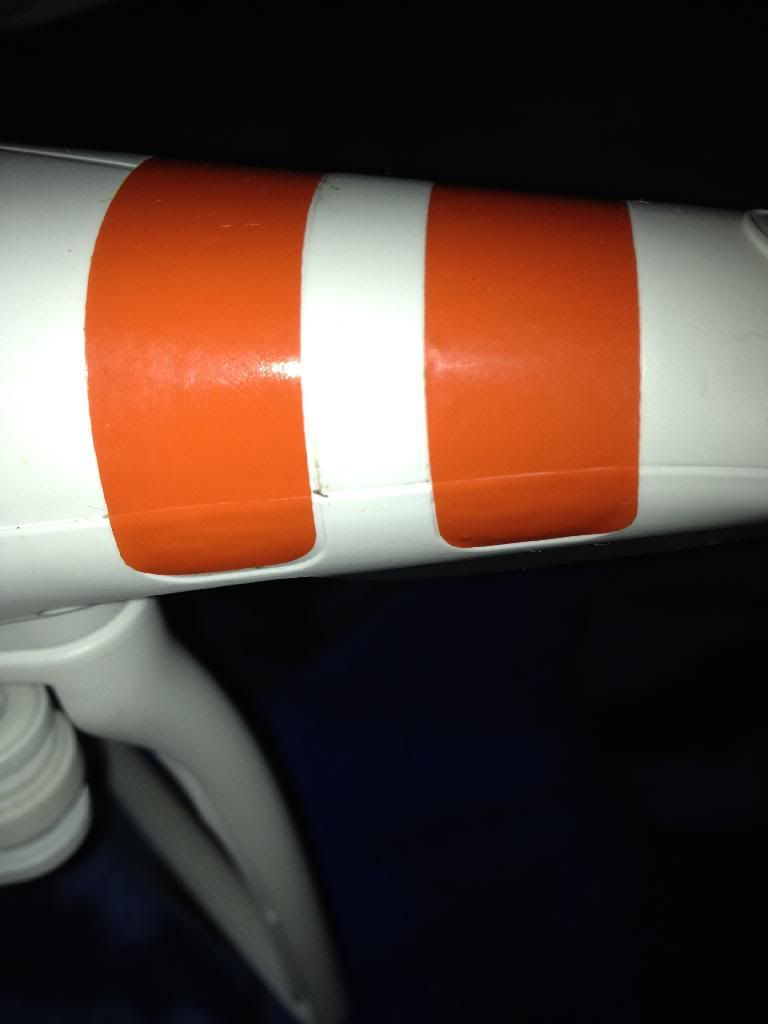
I engraved my phone nr with +(and landcode ) on every part of the bird. Also i removed every sticker that leads to camera code or ip address of the bird.
If lost someone can just call me. When it causes damage to someone else's property i am insured. And if someone breaks and wants to steal it out of the mobilehome, try to sell the parts ? LMAO. Thats why i removed any reference on the camera because they can call DJI and get a IP address from the camera nr.
The leave is there to mask my nr so you don't call me. LMFAO.

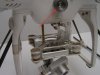
As you have seen i made it on stilts using fiber glas or what ever that they use to make arrows. ( thanks to someone for that tip in a threat on this forum )
Initially it was there to protect the camera and lucky i did !
Now with flying the beast more then 20 times i felt confidant enough to make some mods to the camera.
As you can see the system isn't that good and there are some designer-flows into it.
1) The camera lens isn't in the middle of the bird. Its way off center !
2) When pushed to the max either by velocity or wind when stable you get the props into the video.
But hey it works fine if you know and uses its limitation.
But as i had them skids i had the idea of lowering the cam.
The max length of M3 available in the DIY is 40mm.
So i cut from brass tube 4mm a 35mm long extension.
As i was doing that i noticed that when you turn the mounting plate 180¤ then the camera is almost in the middle and puts it further in front but it can only be attached with 2 screws.
As it gave me also a tight fit i opted for that solution instead of making a adapter that would make i could use the 4 screws.
When somehow i crash the bird the camera is likely to detach faster this way hopefully leaving it less damaged. ( wishful thinking ?)
Anyway i had to extend the cables going to the camera and i did so with 6cm.
As a seal i use masking tape and after applying i do a drop of super glue on it. That leaves a nice bond that never detaches.
You may find it odd but actually the first capacitors were made out of paper.
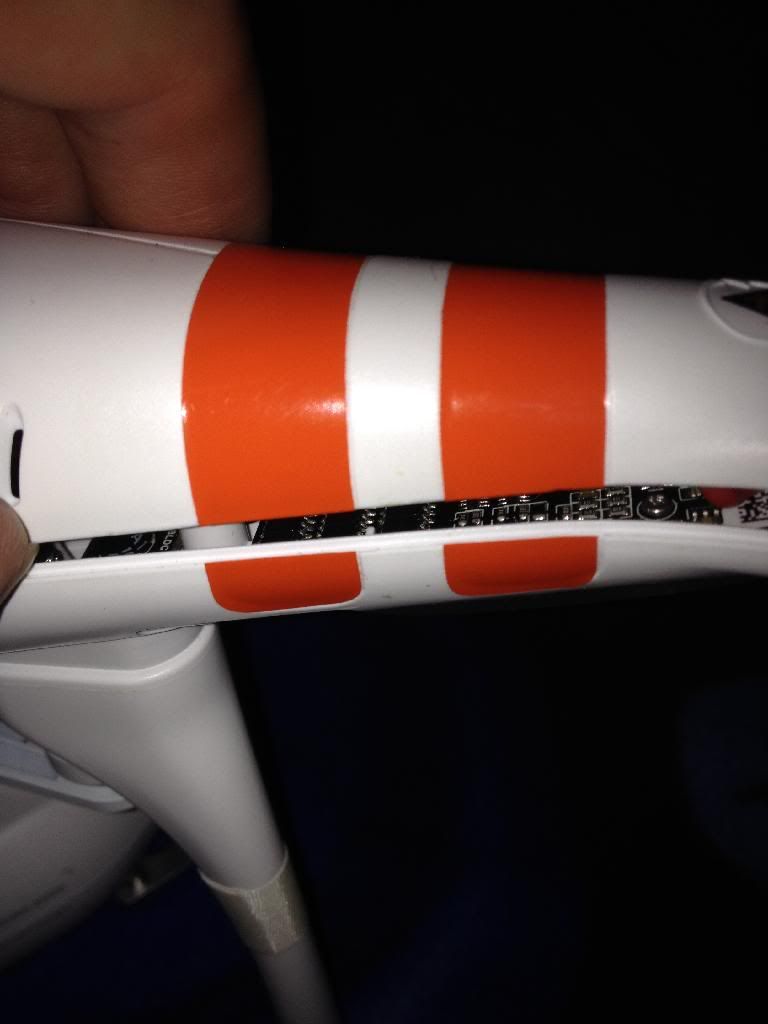
The white that i used to make the bindings on the skits is expanded PVC of 1cm.
It nice stuff to work with and light in weight.
The front binding is glued with super glue and the ex arrow stuff binds with it to the PVC.
As i apply the skits i slide the back binding so it can be attached and slide it more in front so it fits nice and tight.


The inside of the block that attach the skits on the bird are fastened with 3 screws that are used to attach servos.
And also here i put in super glue to bond the leg with the PVC. The body also dissolves a bit with super glue giving a nice firm bond.

When i did the mods on the transmitter i had the stock antenna from it placed on the bird.

The antenna i made yesterday and gave me a reach of 2km until i got the "max distance "screen is a collinear dipole with 16 elements tuned to 5,789Ghz.
It snugs nicely into the 9dbi casing.
Further test have to be made when i change the max distance true the assistant ( thanks to dirty-bird for that info ).
But for the moment i am very happy with the reach off it.
2km control and FPV with booster app and 7 dbi antenna, thats something isn't it ?

Picture of the bazooka balun.

1/4 wave end piece.

Some elements.

Well thats it folks, i can go on holiday now with the bird.
I hope i can shoot some nice video for my up to come "In flanders field video "
Greetings and till .......................
P.s. The one that has seen i placed the top back to front noticed the same i did when i turned the bird back over after fastening the screws.
TTP
First of all the transmitter.
I bought 2 antenna's for wifi.
9dbi and 7dbi.
9 went on the transmitter thats actually a 5.8 transmitter but i wanted to try it out giving me more reach.
It works up to 1.3km with fresh charged mi-mh battery's ( tested today).
Also i have approx 1km with the 7dbi on the wifi extender ( also tested today because i forget to initiate the booster app ).
On how to get the connectors to the outside => youtube.
Also i fixed the transmitter connector with super glue. I guess the case is made out of abs and that mets with that kinda glue so it gives a nice firm fix.
Notice how i fixed the tablet to the stock clip. I glued it only with super glue.
As the paint on the tablet gave way in the first attempt i,ve redone it and since then its attached very nicely.
I don't use the tablet for anything else so i just leave it there.
As you have seen on the previous pic i use li-po to power the transmitter now.
Inside i installed a 7805 with a 670 risitor on the negative feed that gives a 6.5v output.
It doesn't need cooling and you have to replace it when the transmitter gives its first warning beep. Otherwise the li-po will be discharged to deep and lead to its destruction. I also have the original battery box over the output and i had to use that today because the neg wire came out of the connector and thus i had to use the mi-mh battery's. The power consumption is about 77ma BUT the only disadvantage is that you have to remove the li-po because the 7805 draws 2.5ma after the transmitter is off. Thats going to draw the li-po empty faster then you can imagine and therefore destructing it when discharged to deep.
There is a other possibility. The 7805 after the on-off switch but that involves messing on the pcb and thats not what i want to do @ this moment.
They snug nicely into the compartment.
I engraved my phone nr with +(and landcode ) on every part of the bird. Also i removed every sticker that leads to camera code or ip address of the bird.
If lost someone can just call me. When it causes damage to someone else's property i am insured. And if someone breaks and wants to steal it out of the mobilehome, try to sell the parts ? LMAO. Thats why i removed any reference on the camera because they can call DJI and get a IP address from the camera nr.
The leave is there to mask my nr so you don't call me. LMFAO.
As you have seen i made it on stilts using fiber glas or what ever that they use to make arrows. ( thanks to someone for that tip in a threat on this forum )
Initially it was there to protect the camera and lucky i did !
Now with flying the beast more then 20 times i felt confidant enough to make some mods to the camera.
As you can see the system isn't that good and there are some designer-flows into it.
1) The camera lens isn't in the middle of the bird. Its way off center !
2) When pushed to the max either by velocity or wind when stable you get the props into the video.
But hey it works fine if you know and uses its limitation.
But as i had them skids i had the idea of lowering the cam.
The max length of M3 available in the DIY is 40mm.
So i cut from brass tube 4mm a 35mm long extension.
As i was doing that i noticed that when you turn the mounting plate 180¤ then the camera is almost in the middle and puts it further in front but it can only be attached with 2 screws.
As it gave me also a tight fit i opted for that solution instead of making a adapter that would make i could use the 4 screws.
When somehow i crash the bird the camera is likely to detach faster this way hopefully leaving it less damaged. ( wishful thinking ?)
Anyway i had to extend the cables going to the camera and i did so with 6cm.
As a seal i use masking tape and after applying i do a drop of super glue on it. That leaves a nice bond that never detaches.
You may find it odd but actually the first capacitors were made out of paper.
The white that i used to make the bindings on the skits is expanded PVC of 1cm.
It nice stuff to work with and light in weight.
The front binding is glued with super glue and the ex arrow stuff binds with it to the PVC.
As i apply the skits i slide the back binding so it can be attached and slide it more in front so it fits nice and tight.
The inside of the block that attach the skits on the bird are fastened with 3 screws that are used to attach servos.
And also here i put in super glue to bond the leg with the PVC. The body also dissolves a bit with super glue giving a nice firm bond.
When i did the mods on the transmitter i had the stock antenna from it placed on the bird.
The antenna i made yesterday and gave me a reach of 2km until i got the "max distance "screen is a collinear dipole with 16 elements tuned to 5,789Ghz.
It snugs nicely into the 9dbi casing.
Further test have to be made when i change the max distance true the assistant ( thanks to dirty-bird for that info ).
But for the moment i am very happy with the reach off it.
2km control and FPV with booster app and 7 dbi antenna, thats something isn't it ?
Picture of the bazooka balun.
1/4 wave end piece.
Some elements.
Well thats it folks, i can go on holiday now with the bird.
I hope i can shoot some nice video for my up to come "In flanders field video "
Greetings and till .......................
P.s. The one that has seen i placed the top back to front noticed the same i did when i turned the bird back over after fastening the screws.
TTP