

So I go out to a local park and they seem to like to keep their grass super tall, not ideal for launching or landing our P3's. I saw a heli-pad someone was selling for like $50+ and thought, hmmmm, I can make one of those. So here is my little tutorial on how I made my own Heli-Pad
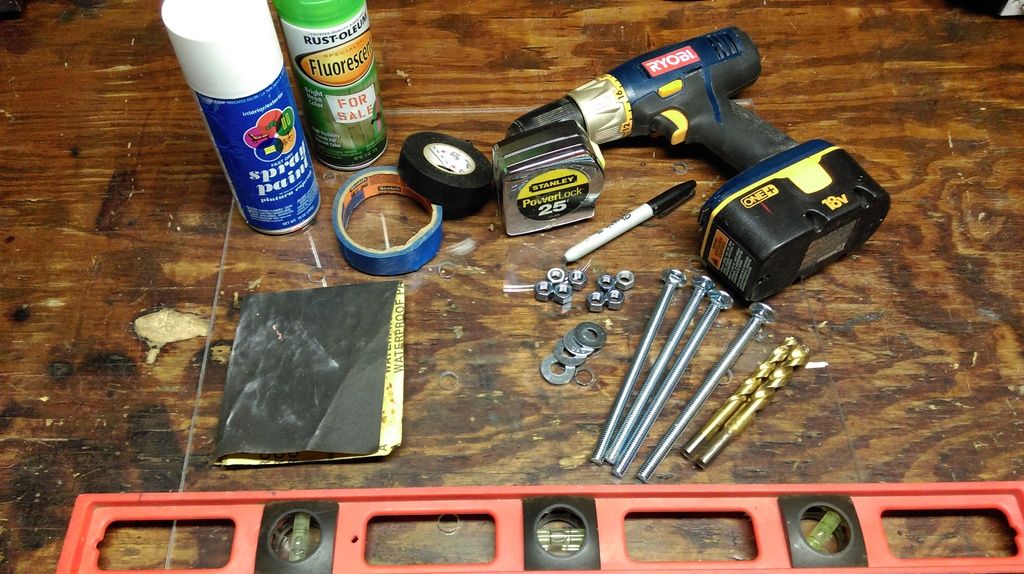
So here's what you'll need:
.22x18x24" Plexi (Acrylic) Glass or 1/4x24x24 sheet of plywood (3 ply)
4 - 3/8"x6.5" Carriage Bolts
8 - 3/8" Washers
8 - 3/8" Nuts
3/8" Drill Bit
1/2" Drill Bit
Drill
320 Grit Wet/Dry Sandpaper
Sharpie or Marker
Ruler
Painters Tape/Electrical Tape
$.99 cent Flat White Spray Paint
Flourecent Green Spray Paint
Step 1)
Cut the plexi glass (or plywood) to 18"x18" square
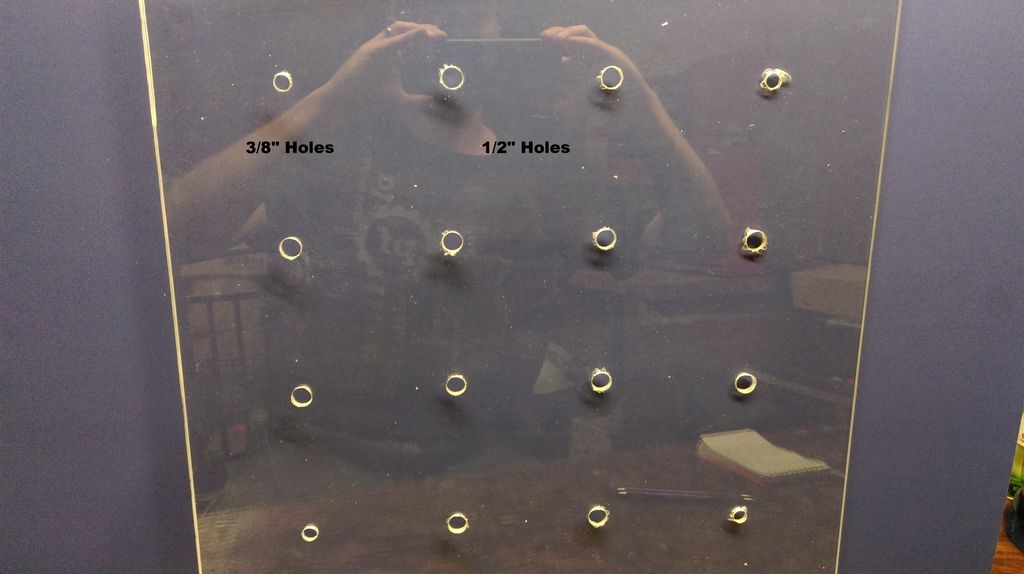
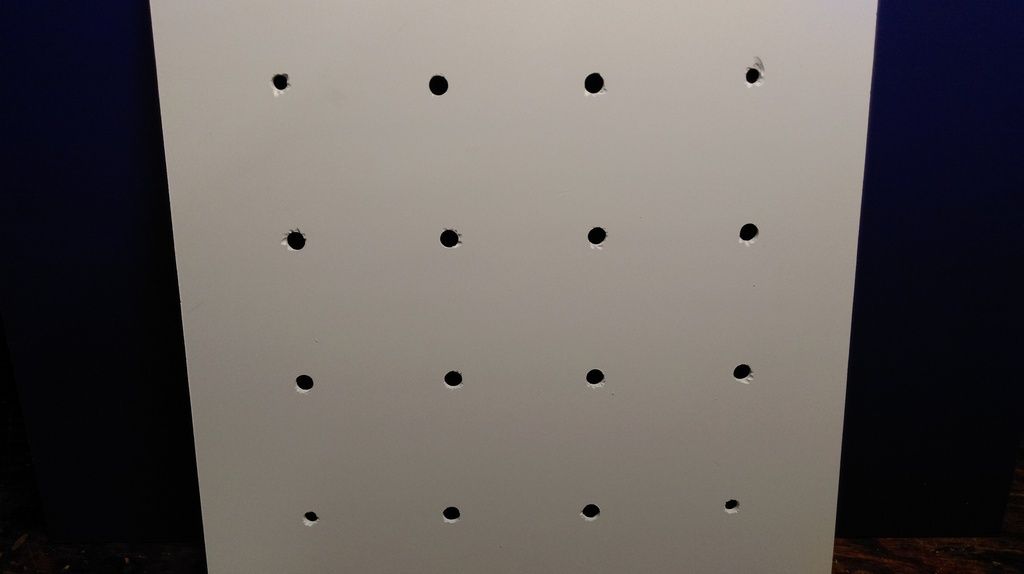
Step 2)
Drill 3/8" holes 3" from the sides at each corner
Drill 1/2" holes 4" apart starting at the 3/8" holes at the corners
(Drill very slowly and back the bit out if it becomes stuck. I suggest drilling halfway through on one side, and halfway on the other to reduce chipping)
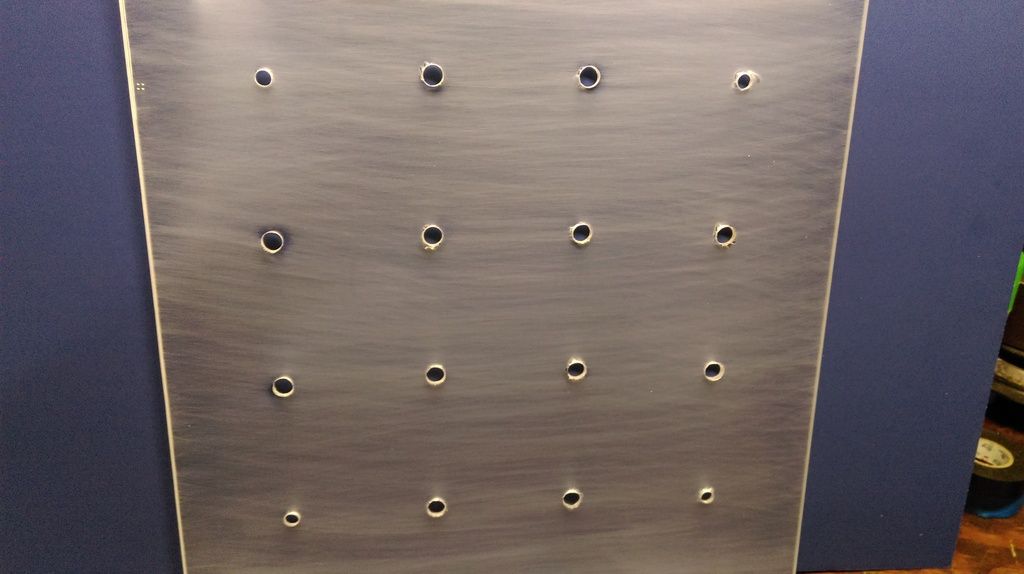
Step 3)
Lightly sand surface on both sides till sheen is completely gone. This will help the paint adhere better.
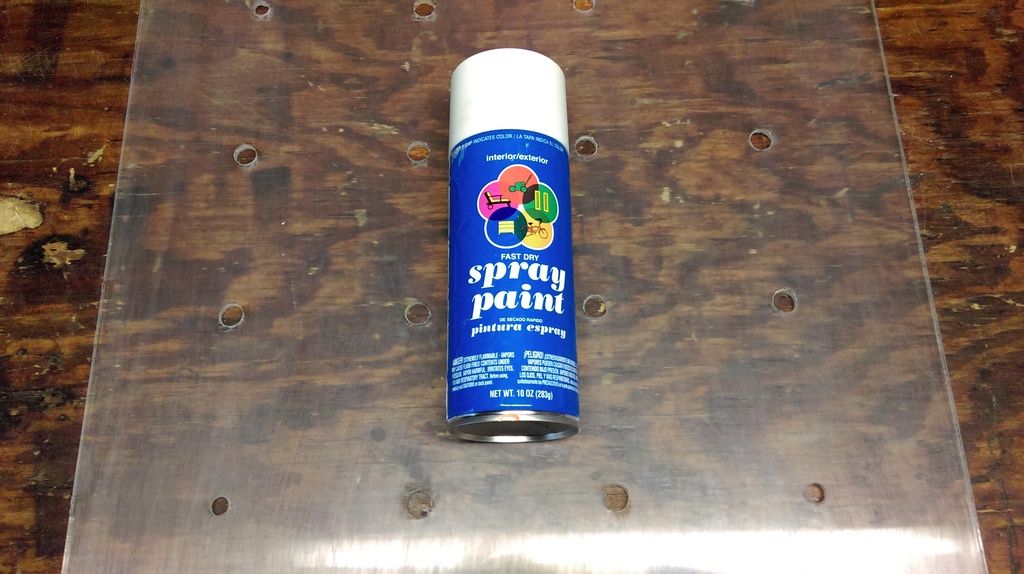
Step 4)
Wipe down each side so there is no dust, loose acrylic, or anything else on the plexi then get the flat white paint and spray 3-5 light coats on each side. Be sure to allow the paint to dry for just a few minutes in between each coat. This will help reduce splotches and runs in your paint.
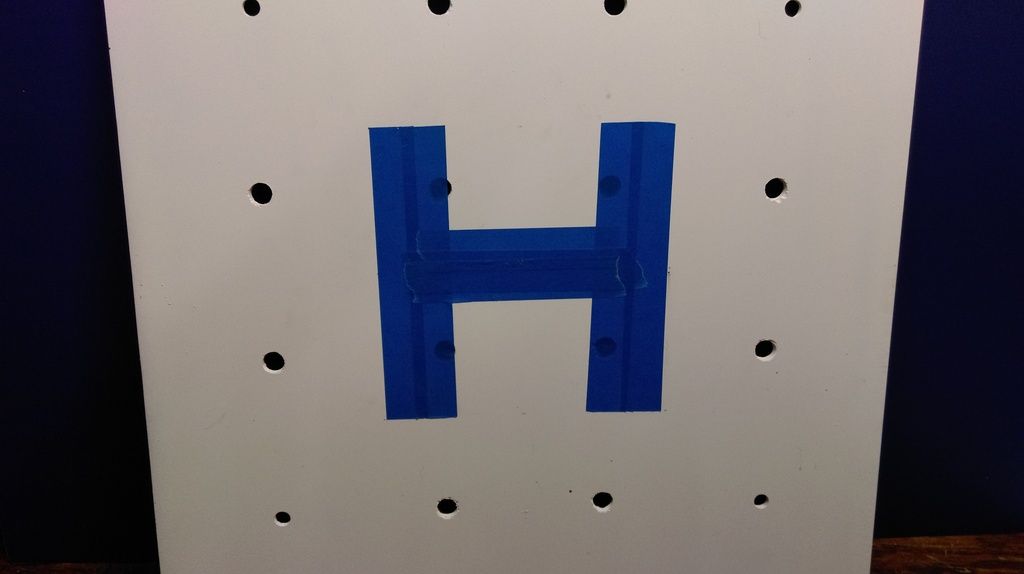
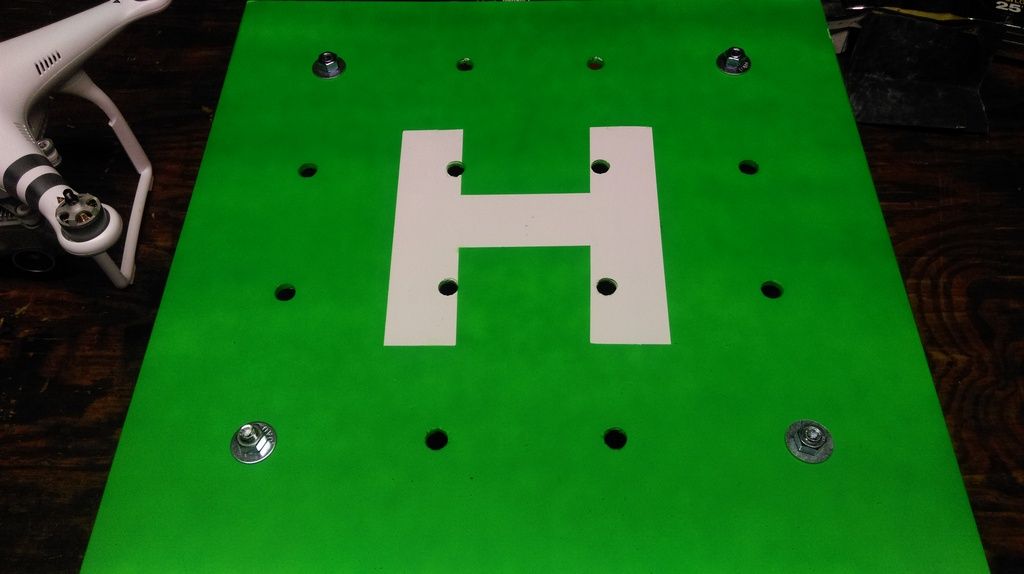
Step 5)
After the paint has FULLY dried (at least 1-2 hours depending on humidity) get your painters tape and make an "H" directly in the center of the board. My "H" was 7"x7" so I marked 3.5" from center and cut my tape appropriately. Take your time and be sure everything is centered the best you can (Mines just a little off) Press the tape firmly around the edges to ensure no paint gets underneath it.
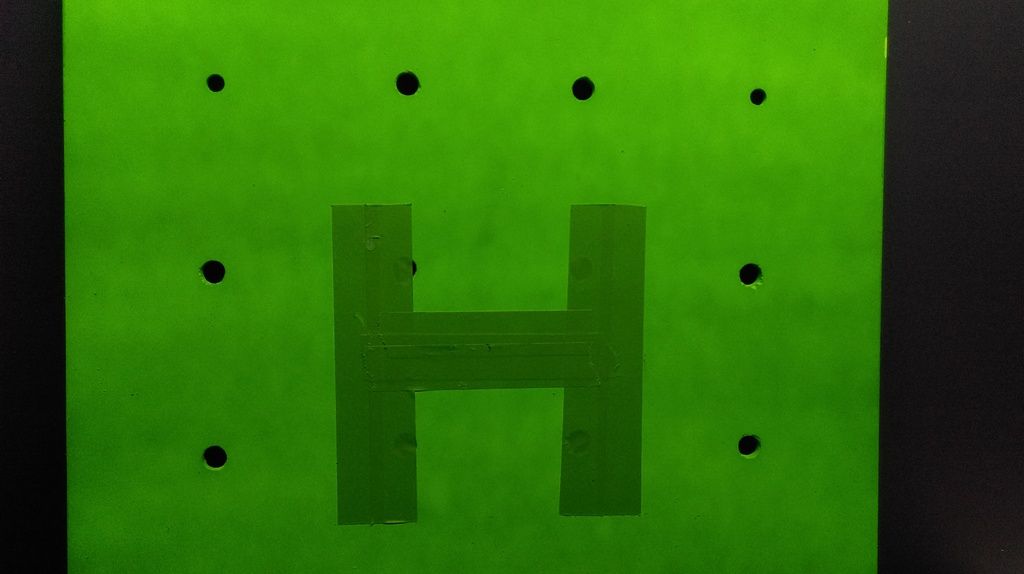
Step 6)
Grab the fluorescent paint (I chose green, but you can do which ever color you like!) and just like with the white, do multiple light coats allowing the paint to dry slightly in between each coat. I chose to paint both sides but you can do just the top if you wish.
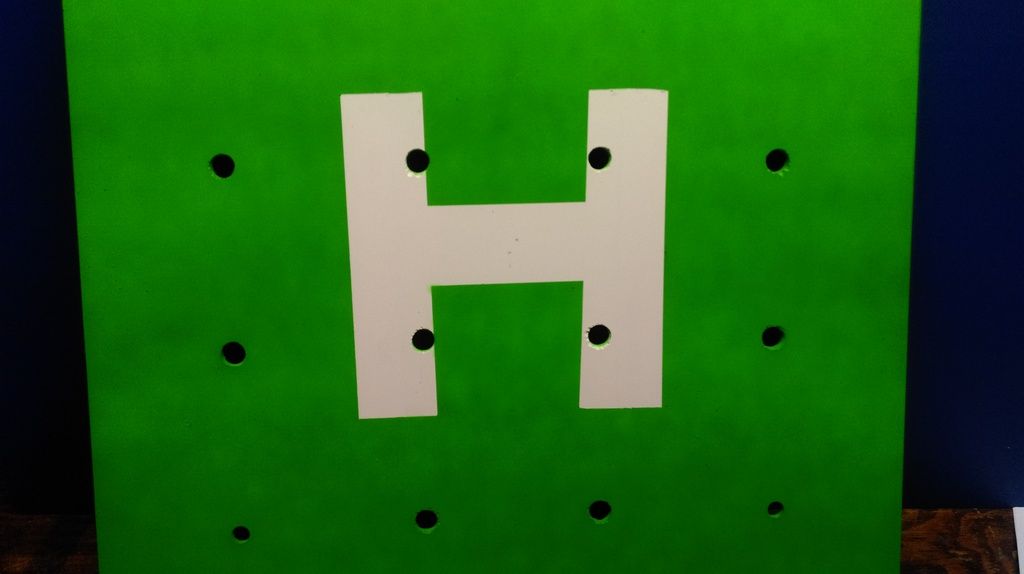
Step 7)
Again, after several hours (2-3 minimum) to be sure the paint has fully dried, carefully remove the tape peeling it back slowly. If you've allowed the paint to fully dry and you pressed firmly when you first applied the tape, it should leave a clean, crisp line.
Step 8)
Take the 3/8" carriage bolts and thread a nut on a few inches down, then place a washer on top of it. Put it in one of the corner 3/8" holes you drilled earlier, then place a washer and another nut on top of that. I made mine flush with the top of the carriage bolt.
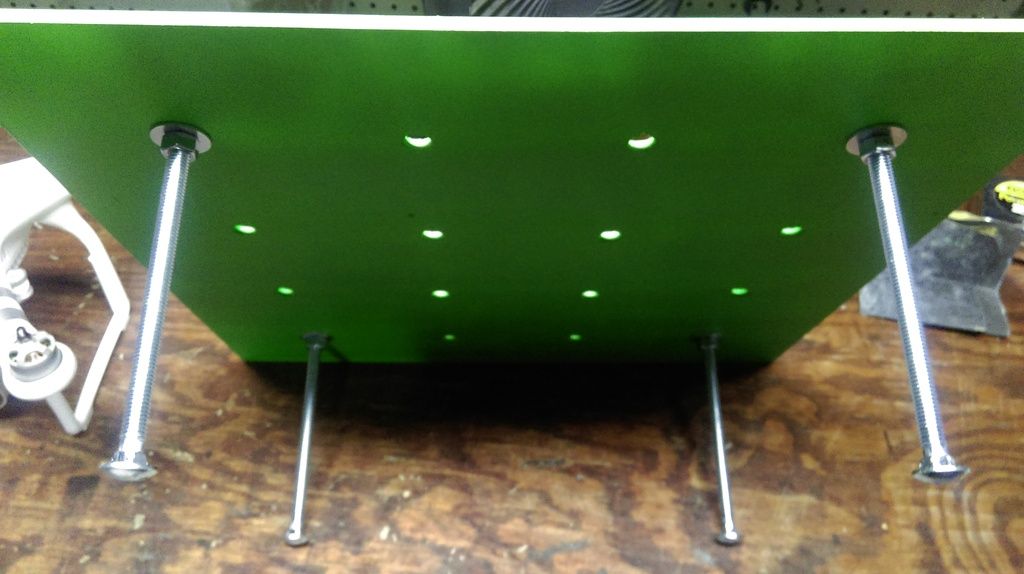
Step 9)
That's it, take it out and test it. With using the longer carriage bolts it allows me to screw one side in if the ground is uneven, allowing my Heli-Pad to stay level. I have a small "triangle level" that I can keep in my DJI backpack that will show me the level of the Heli-Pad.
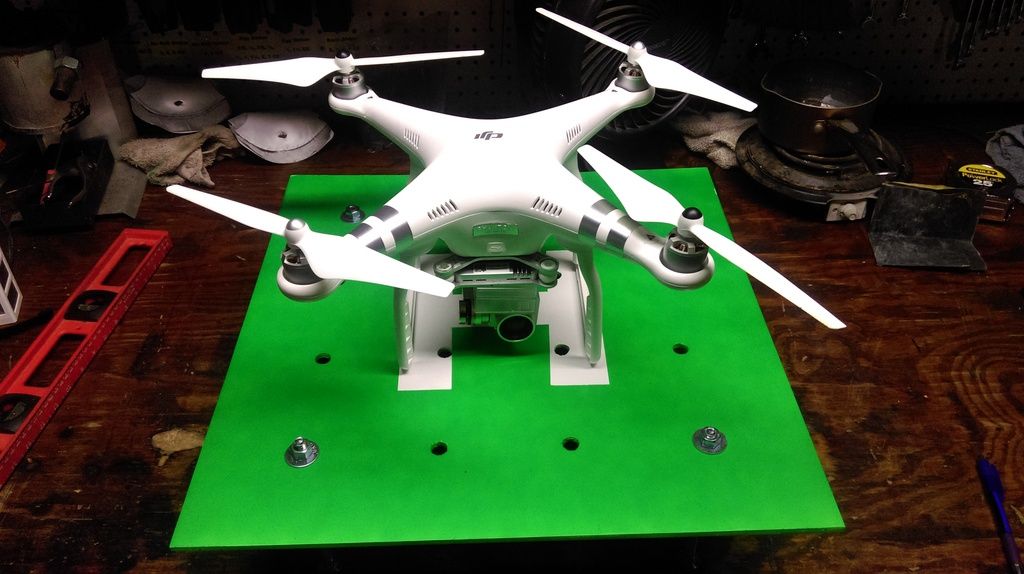
That's it, hope you guys enjoyed this DIY, most items some of you will probably already have in your garage or basement. I was lucky and only had to purchase the green paint and carriage bolts. But if you were to buy the plexi-glass it would run you about $18-20 at your local hardware store. I chose plexi-glass over plywood for weight and I didn't want to sand the plywood to the smoothness I would want from it. Plexi was much easier for me.
So here's what you'll need:
.22x18x24" Plexi (Acrylic) Glass or 1/4x24x24 sheet of plywood (3 ply)
4 - 3/8"x6.5" Carriage Bolts
8 - 3/8" Washers
8 - 3/8" Nuts
3/8" Drill Bit
1/2" Drill Bit
Drill
320 Grit Wet/Dry Sandpaper
Sharpie or Marker
Ruler
Painters Tape/Electrical Tape
$.99 cent Flat White Spray Paint
Flourecent Green Spray Paint

Step 1)
Cut the plexi glass (or plywood) to 18"x18" square
Step 2)
Drill 3/8" holes 3" from the sides at each corner
Drill 1/2" holes 4" apart starting at the 3/8" holes at the corners
(Drill very slowly and back the bit out if it becomes stuck. I suggest drilling halfway through on one side, and halfway on the other to reduce chipping)

Step 3)
Lightly sand surface on both sides till sheen is completely gone. This will help the paint adhere better.

Step 4)
Wipe down each side so there is no dust, loose acrylic, or anything else on the plexi then get the flat white paint and spray 3-5 light coats on each side. Be sure to allow the paint to dry for just a few minutes in between each coat. This will help reduce splotches and runs in your paint.


Step 5)
After the paint has FULLY dried (at least 1-2 hours depending on humidity) get your painters tape and make an "H" directly in the center of the board. My "H" was 7"x7" so I marked 3.5" from center and cut my tape appropriately. Take your time and be sure everything is centered the best you can (Mines just a little off) Press the tape firmly around the edges to ensure no paint gets underneath it.

Step 6)
Grab the fluorescent paint (I chose green, but you can do which ever color you like!) and just like with the white, do multiple light coats allowing the paint to dry slightly in between each coat. I chose to paint both sides but you can do just the top if you wish.

Step 7)
Again, after several hours (2-3 minimum) to be sure the paint has fully dried, carefully remove the tape peeling it back slowly. If you've allowed the paint to fully dry and you pressed firmly when you first applied the tape, it should leave a clean, crisp line.

Step 8)
Take the 3/8" carriage bolts and thread a nut on a few inches down, then place a washer on top of it. Put it in one of the corner 3/8" holes you drilled earlier, then place a washer and another nut on top of that. I made mine flush with the top of the carriage bolt.


Step 9)
That's it, take it out and test it. With using the longer carriage bolts it allows me to screw one side in if the ground is uneven, allowing my Heli-Pad to stay level. I have a small "triangle level" that I can keep in my DJI backpack that will show me the level of the Heli-Pad.

That's it, hope you guys enjoyed this DIY, most items some of you will probably already have in your garage or basement. I was lucky and only had to purchase the green paint and carriage bolts. But if you were to buy the plexi-glass it would run you about $18-20 at your local hardware store. I chose plexi-glass over plywood for weight and I didn't want to sand the plywood to the smoothness I would want from it. Plexi was much easier for me.


