Re: Video: Fitted my Phantom v1 into a Phantom 2 shell (easy
Mr. DeweyAXD... I watched your video intently
Thanks PJA. Glad it came of use!
Yes that e-bay battery door is pretty steep. Good design I'm sure but if the designer had 'swiss cheesed' it in the right places it would use a lot less material and thus be cheaper. It is a big door so mine won't be super cheap (all comes down to the cm3 of material used) but it should be at least 2/3 the price of that (maybe even half that).
Aren't the mounting points sufficiently symmetrical to allow for that configuration?
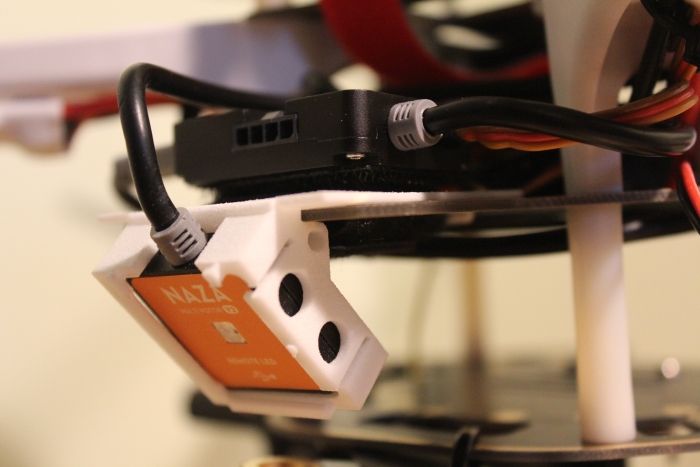
The mounting points maybe but the board itself isn't. There is a tab at the front of the board:
This would need chopping off to be able to rotate it.
Easy way would be to remove the NAZA, rotate it 180 degrees and stick it back down so it points to the battery opening. You would then have to turn the top shell round too (or take the GPS out of it and turn it around 180 degrees if that is possible). You would also need to extend the EXPO cable (as it is soldered to the board near that end of the NAZA).
Anything is possible as always. I actually like the idea of the LED at the front because generally at the latter stages of battery life I am coming back toward me, not going away. Plus with the Can-Bus port now working I think i will invest in a second iOSD mini (as I want one on my XuGong10).
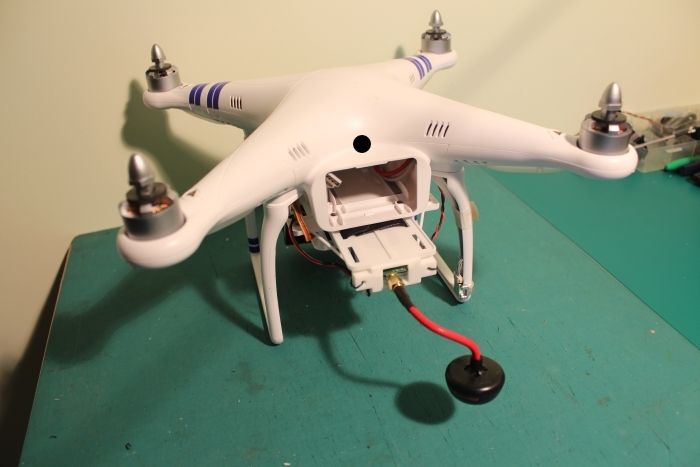
What are you using or doing in the meantime to keep your batteries from falling out the opening?
Personally I will be using velcro for test flights. Two squares of adhesive velcro eiter side of the opening and then a velcor strap across it to prevent sliding. Depending on what batteries I use I migh pad out the space to make it a tight fit too.
Interesting I fitted my giant 5800mah 4s just for giggles last night (just to see the size). Its dimensions are 145 x 50 x 37. Looked like this.
It is a squeeze but does fit.
The 3s equivilent is smaller (143x51x28mm) and lighter at 465g:
http://www.hobbyking.com/hobbyking/stor ... 00%20Zippy
I found this last night. A 6400 mah with really good dimensions (137 x 41 x 44mm) and 506g:
http://www.hobbyking.com/hobbyking/stor ... e_UK_.html
It may well transpire that the weight difference between these two negate the extra Mah.


") - You could even use one of my 45 degree mounts under the Phantom
- You could even use one of my 45 degree mounts under the Phantom