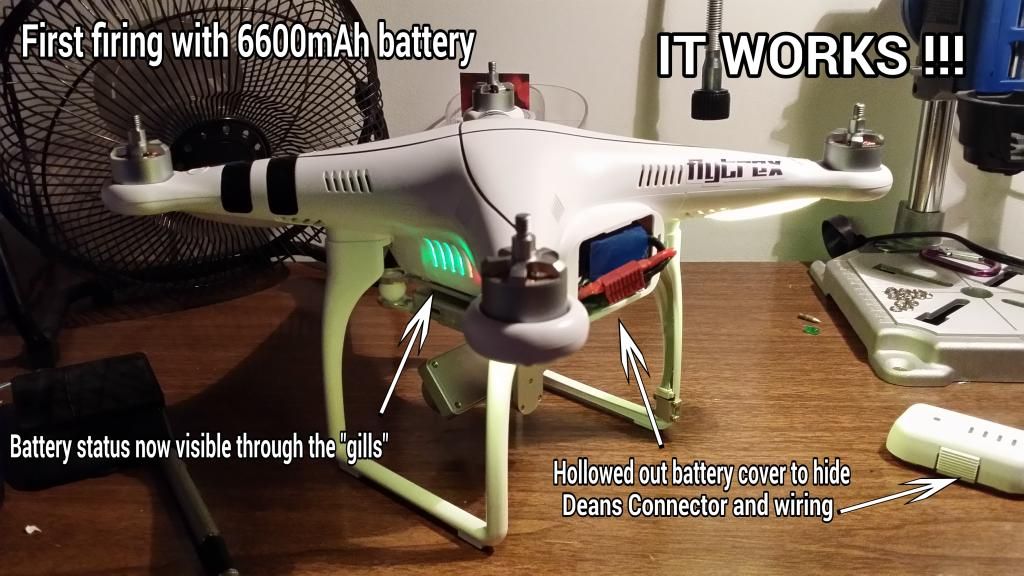
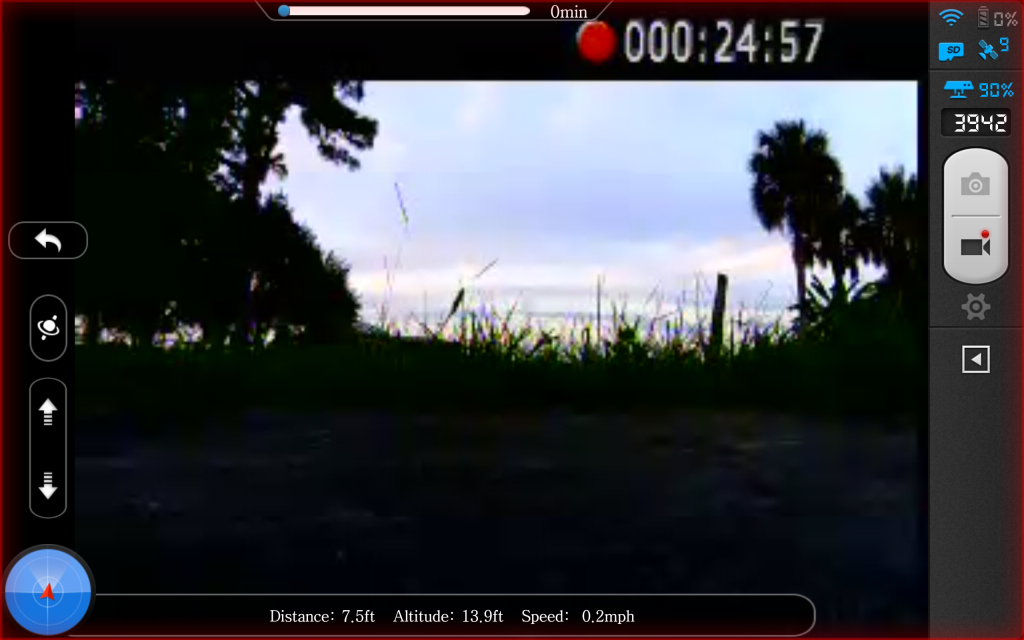
Re: 6600mAh Stealth Battery Mod ... (27.5 minute flight time
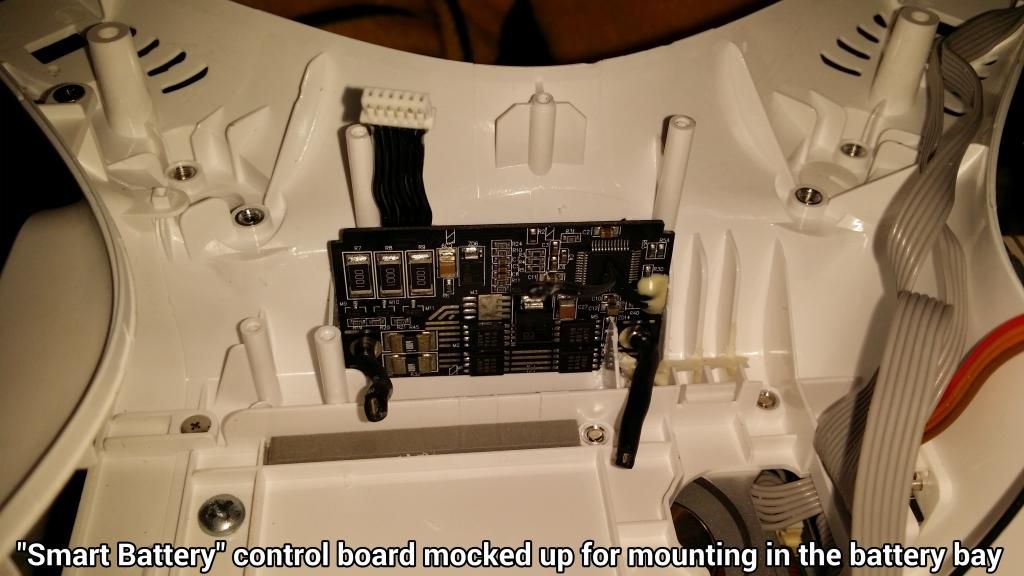
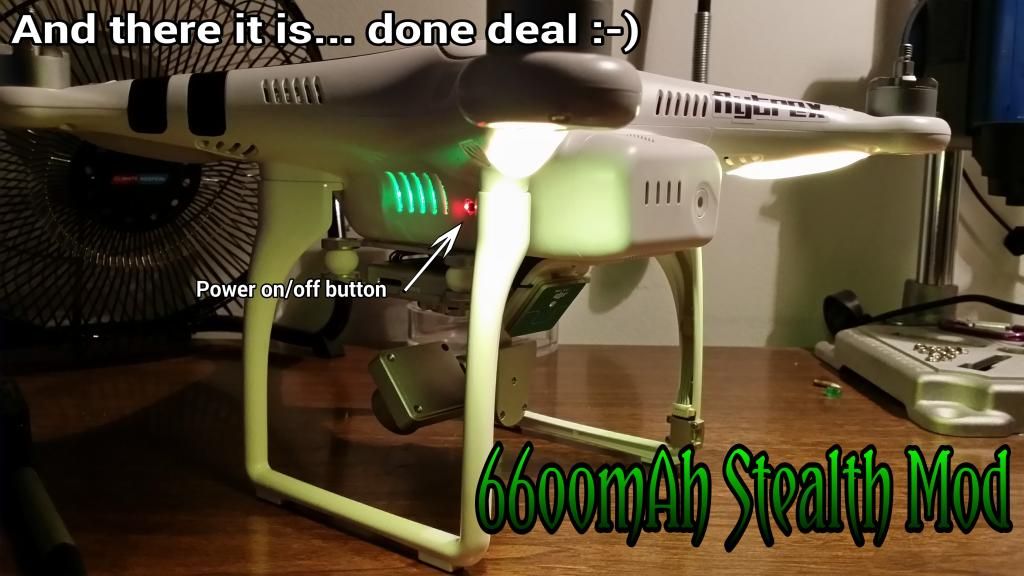
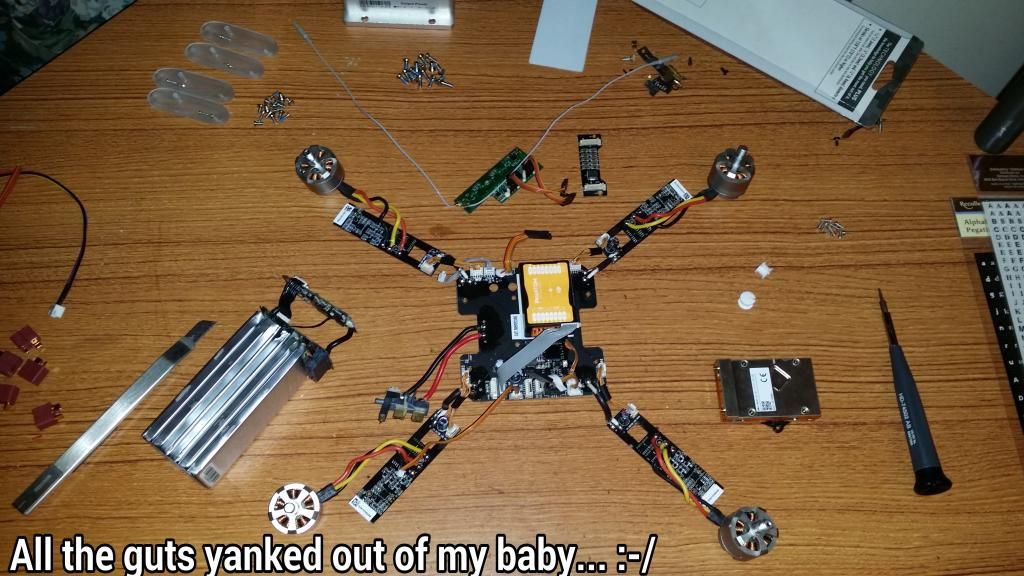
The smart board thing you mounted with hot glue in the first few pics... is that the normal DJI item ??
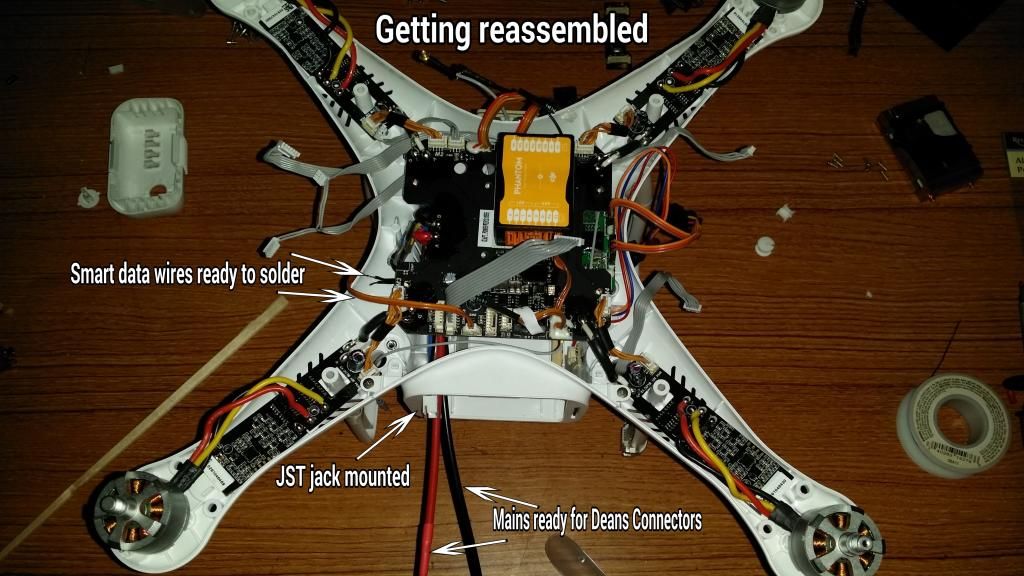
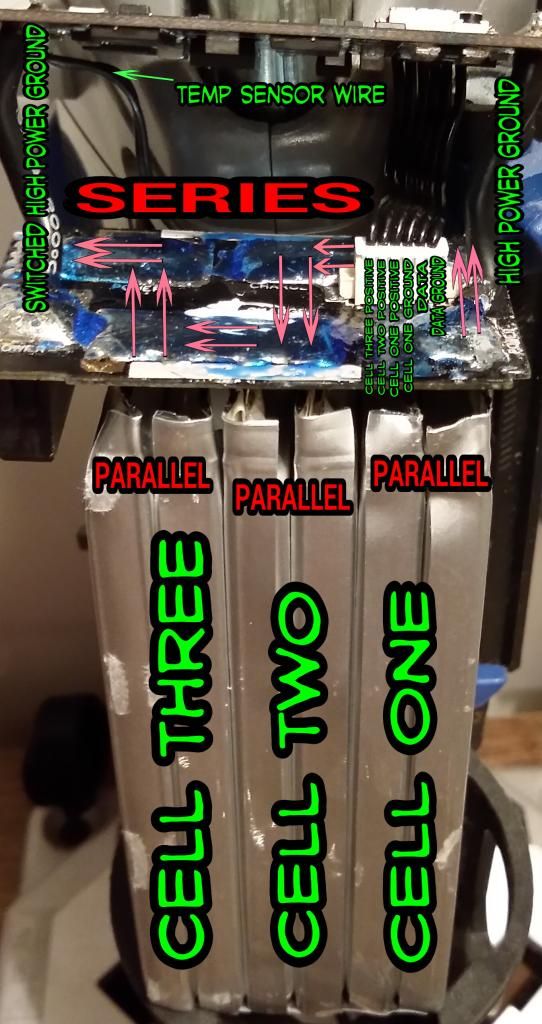
Did you basically just connect in a bigger battery ? Didn't need any other components ??
And the Phantom just accepts it and the app just adjusts ?? Appears so from your pics.
Quite amazing really.. Very jealous... Come to Australia for a holiday (and mod mine please)
You get almost double the time the I get !! :/
The smart board thing you mounted with hot glue in the first few pics... is that the normal DJI item ??
Did you basically just connect in a bigger battery ? Didn't need any other components ??
And the Phantom just accepts it and the app just adjusts ?? Appears so from your pics.
Quite amazing really.. Very jealous... Come to Australia for a holiday (and mod mine please)
You get almost double the time the I get !! :/
")


")