Hello phello photographer phriends, I would like some guidance on how to best take a photo with the need for multiple exposures in one shot.
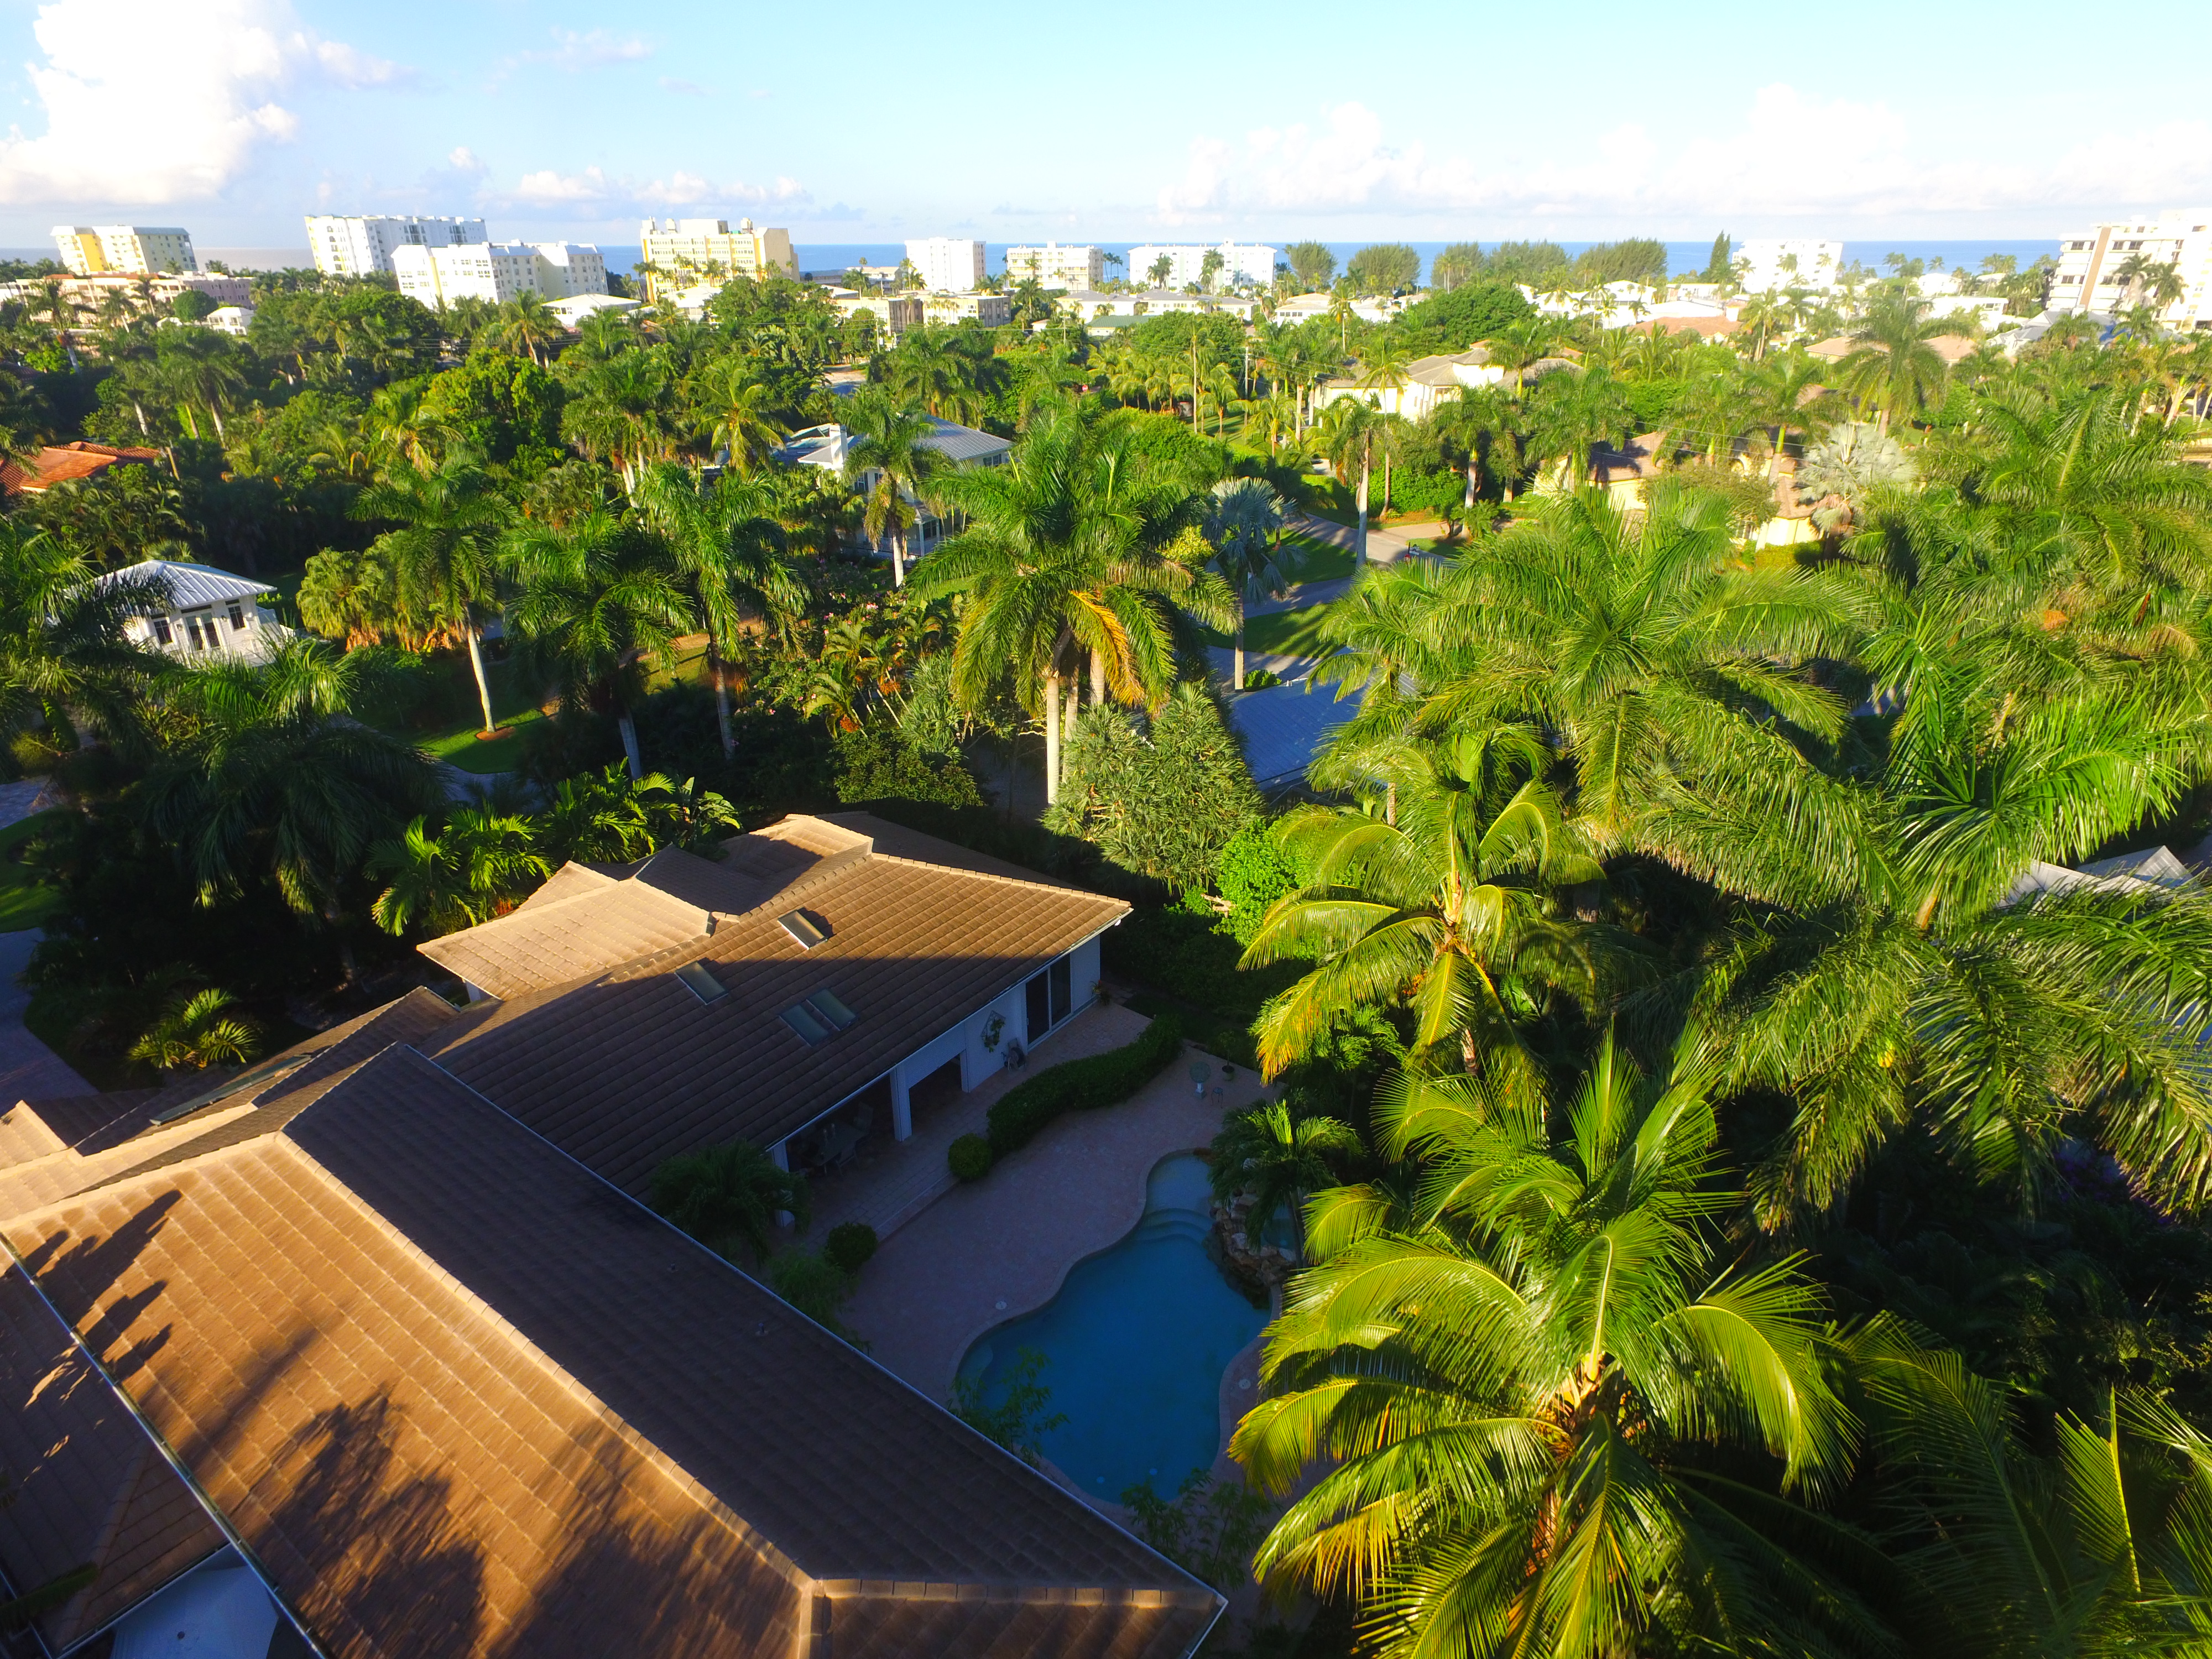
I do a lot of residential photography in Florida, where it's tropical and sunny. I often encounter a situation whereby I need to get the bright background (of the sky or the beach), but also a part of a house that may be in a shadow. See the example below.
If I underexpose the shot, the sky looks great but the backyard and pool is too dark. If I overexpose the shot, the backyard and pool look fine, but the sky is a washed-out bright blur. This photo was taken with a ND4 filter on it.
I don't have the budget to afford Photoshop, where I understand I can do some spot adjustments of exposure. But is there anything I can do on the camera itself to get a better balance of brights and shadows?