- Joined
- Jan 19, 2016
- Messages
- 1,626
- Reaction score
- 418
- Age
- 49
***Final Edit - For those that want to just learn how to extract a model from a vector, you can really stop at 13. Its pretty non-sensical after that. Apologies. Just a mess.
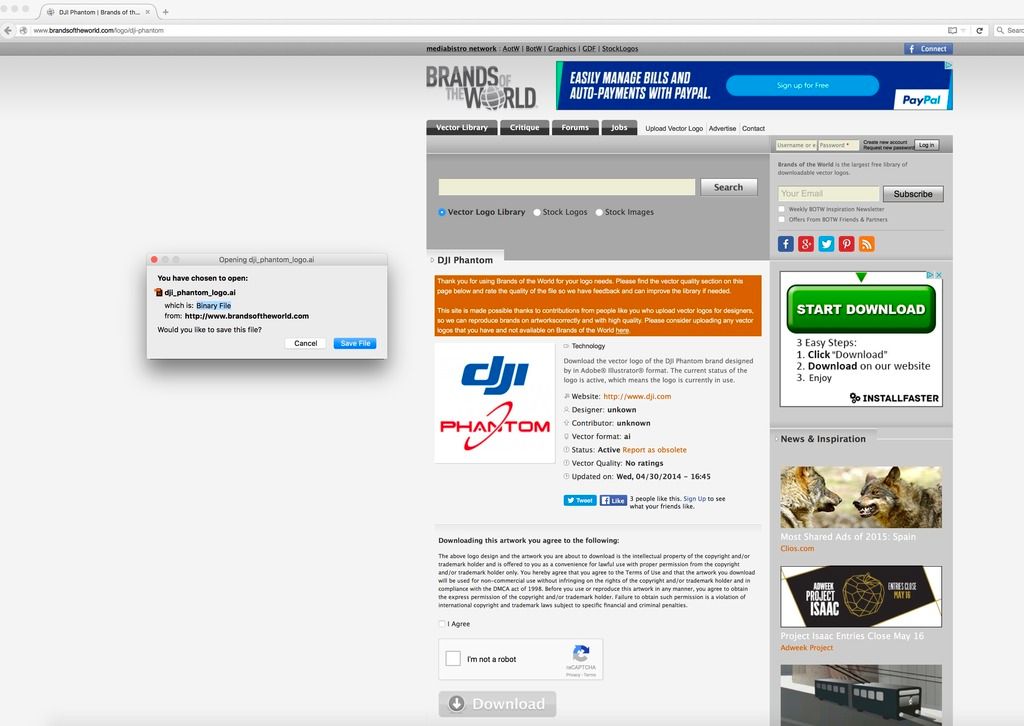
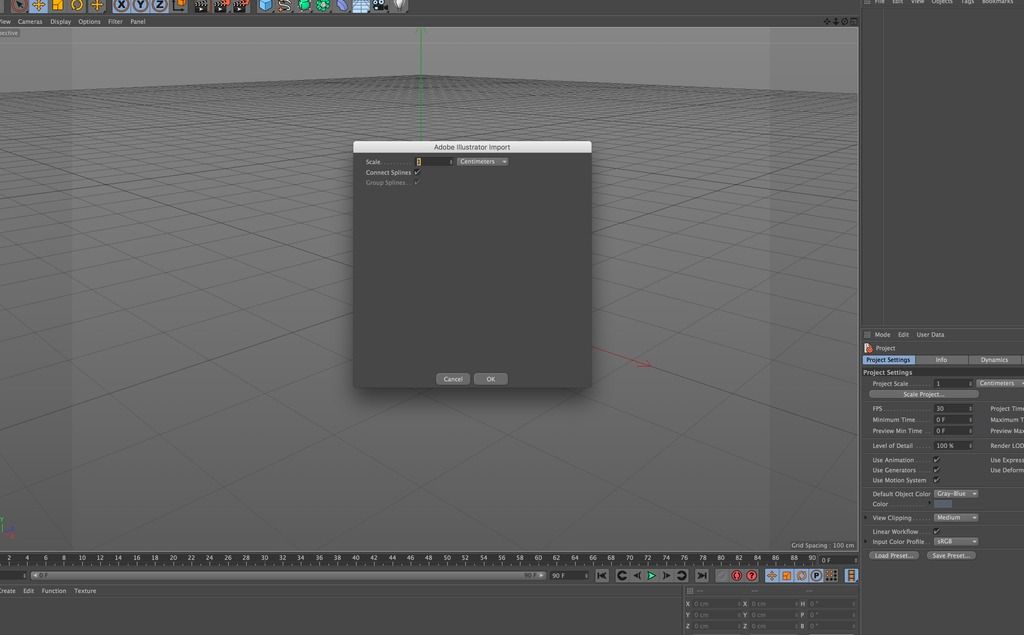
**I was going to put this in the 3D printer thread but when I realized that the posts would hijack the thread and a lot of people wont want to read through all of it, I decided it would be a bad idea to put it in there. If there is someone here that wants it, or maybe a future person just googling how to do it, this is a way. I went a little far with it and it's extremely lengthy in my descriptions from just the first post. I am going to put it all up tonight as it's done but I am going to do it post by post. This is the paste of the reply in that thread. DONT READ IF YOU DONT CARE PLEASE!!!! It also should be noted that why I am showing you a method to create a nifty 3D logo out of a 2D one using a vector image, you can do the same thing in PhotoShop instead of Adobe Illistrator (AI) which reads the paths inehernenly but to do it in PS, you need a very large image, trace the paths or wand them and then "export paths to .ai" which will make more sense at the end of this. Good start huh? lol
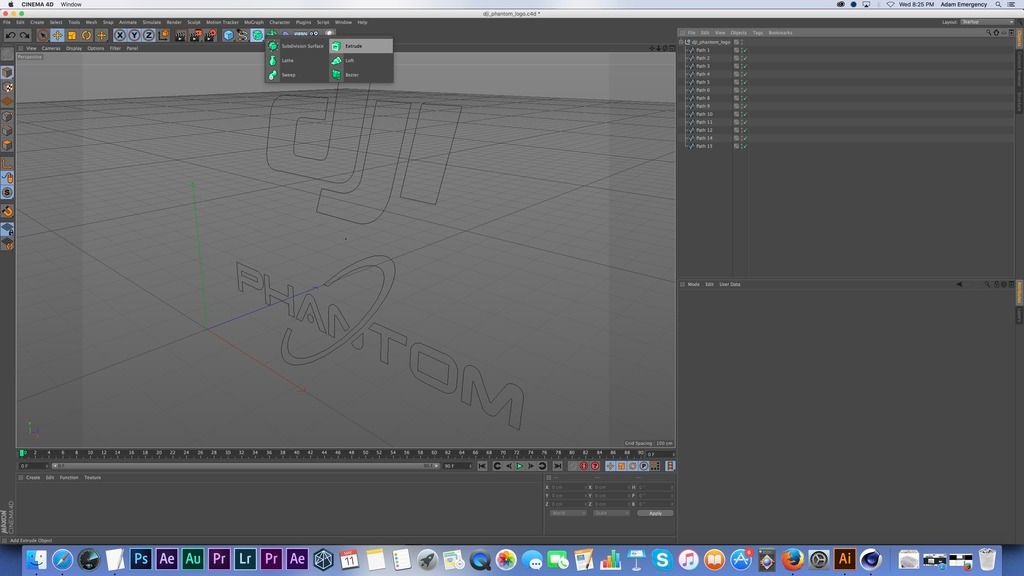
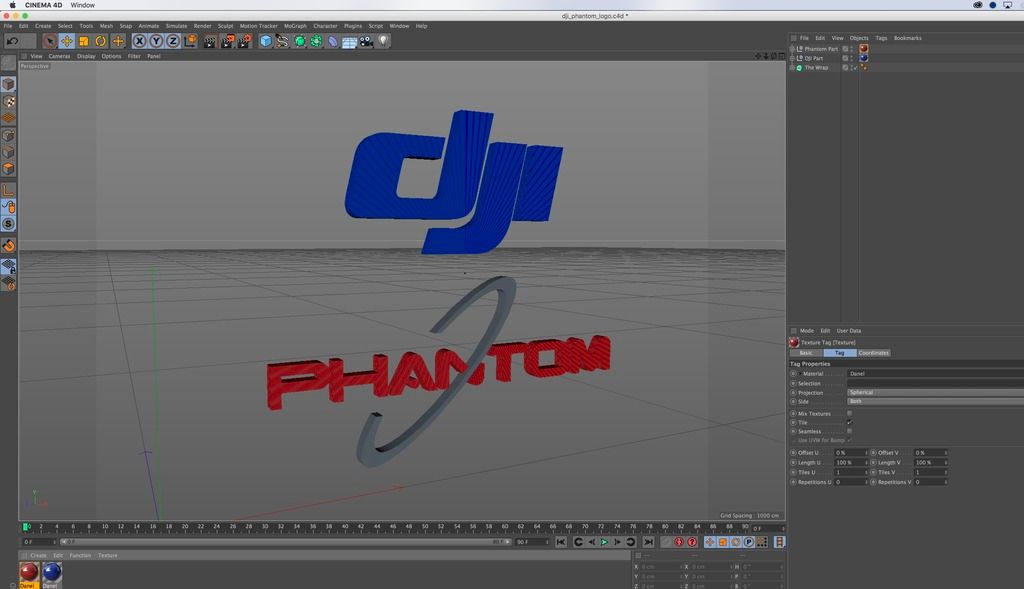
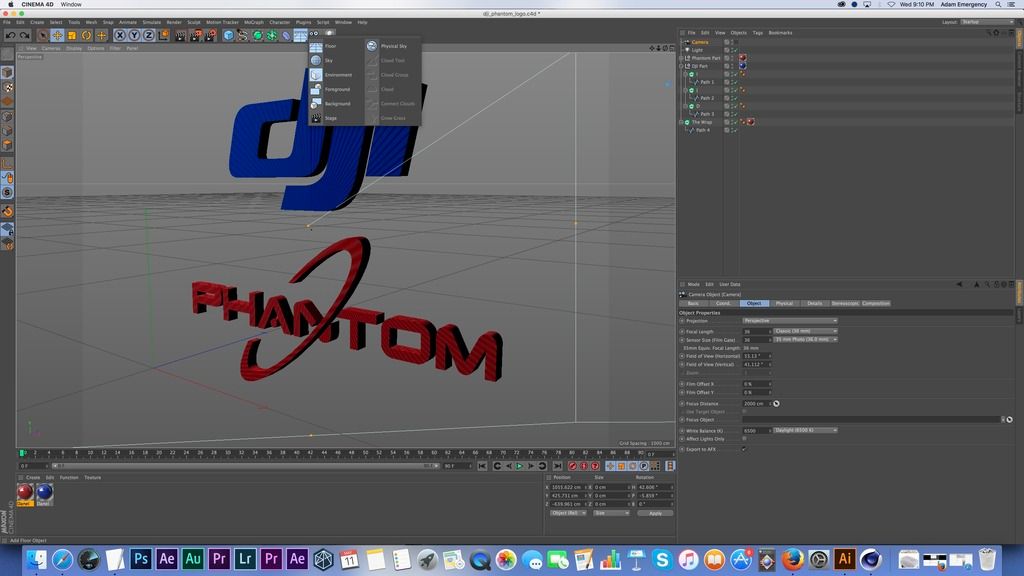
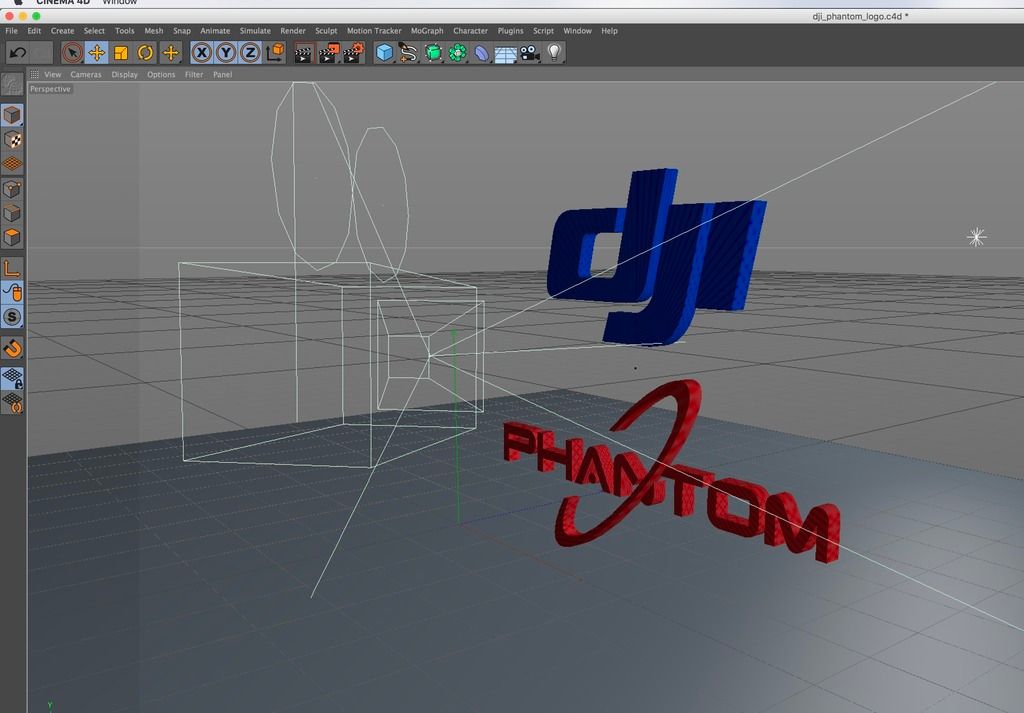
Ok. I decided that I am going to post this a little at a time. I was ready for 3D printing (or at least the process of exporting it for 3D printing within the first 10 minutes) but I decided to give you guys a little tutorial on how to use extrude nurbs with splines in Cinema 4D to create cool looking logos. For example, if someone from Phantom Pilots were to give me there vector logo, I could make them a 3D chrome, awesome looking 3D NFL like logo. If one of you guys want to give it to me, I would be happy to do it for free since you guys have been so nice to me.")
Seriously, if you want a 3D version of your logo, send it over to me (the .ai version).
****DISCLAIMER DISCLAIMER DISCLAIMER ---- I said earlier that I would show you guys how to make a vector image into a 3D object and that's what I am doing. I came back to make this discaimer because I am doing this out of the kindness of my heart. People would pay me good money to teach them how to do some of the minor things were going to do here but in the world of 3D, it's not editing. Editing compared to 3D is like learning your ABCs vs advanced trigonometry. This quasi-tutorial (it would be an actual tutorial if it was video and a lot easier to explain, and I might make one for you guys if anyone is interested, but while this is very simple to me and in reality it is once everything on the screen isn't foriegn to you but this is not editing. This is serious work and there is geometry, measuring, etc. The 3D printers are not going to be phased by it but people that are for sure going to tell me it's long winded and this that and the other and TLDR, etc, cool, just stop here. If you don't have an interest in learning just the VERY BASIC art of creating a 3D piece of work than just stop reading from here. If you are interested, I urge you to keep trying to follow along and not be concerned with how difficult if this is your first go at 3D as this is as simple as it gets but can be a little daunting if you have never really done anything in a 3D app. If you have, this is going to be so rediculously simple that you are going to wonder why I am saying so much but I am and have been an instructor at two universities and while I hate teaching via text, I have a purpose for everything I am saying whether it's obvious now or not. IF PEOPLE DON'T WANT WHAT I AM TELLING YOU NOW BECAUSE IT IS NOT CONCISE AND IS IN FACT FULL OF WORDS THEN PLEASE JUST MOVE ON. YOU DON'T HAVE TO DO THIS. THERE WILL BE NO TEST. STILL SOMEONE WILL FRIGGEN COMPLAIN FOR SURE. There is so much negativity on this forum that it's a shame that I have to be nervous to post a free good tutorial on how to do something that could help the people that have 3D printers which is my purpose and what I said I would do. I am, as evidenced by this paragraph, long winded, sometimes repetitive and so forth, but I am not going to spend hours and hours re-writing and fixing spelling and grammatical errors unless someone wants to pay me. In the meantime, I am happy to, and even enjoy imparting some of the knowledge I posses. If this catches any single person's interest and they want to go further, I am happy to. AutoCAD (thats the simplest part because it's just basically modeling with no lighting or texturing) but I have worked on many major films where I have put 3D models of mocap ninjas, the dog in The Fog, I did a ton of rotoscoping on Titanic, so we can go as far as you guys want or we can just stay at CAD. The project that I am now going to show you screen captures on will hopefully shed light on what is happening as it really is simple but if you don't know what you're looking at, I suppose it can be scary. I have lost my ability to see what is obvious or not simply by the amount of years I've been doing it.
So, we were discussing 3D printing and I offered to help anyone create a 3D model if they had a idea but don't have the knowledge or the sculpting capabilities to create it. There is more to it than just modeling in 3D printing as even in the 3D (CAD) portion of the project, you need to be aware of not actual dimensions but ratios as most of the programs that you will export to for final processing to make a 3D printable file, will look at ratios, or at least somehow be able to convert for example, if I'm calling my model 6 feet by 2 feet, with the press of a key I can make it 6 centimeter by 2 centimeters. Now keep in mind that once we get out of the 3D world of Cinema 4d, Maya, 3DS Max or whatever program we are using to create the model that is where my knowledge goes away and I am just working on general theory. Hence the reason I am willing to create 3D models which I normally charge quite a bit for, for free. I would love to collaborate to learn the whole process of 3D printing so someone who has a pretty good 3D printer, please, use me.
Take my skill set as a modeler and lets see an item through to completion. I will suggest lets keep it simple first. How about something for the community. I mean there is nothing I would like more than to make a key chain for @Phantom fool because he is just the kindest person and unprovoked labeling of me as "full of crap" should be rewarded and it is my desire to make him a 3D printed logo with his name (with the fool extra large) that he could use as a key chain so that when he is driving down the road he is so impressed by it, he just keeps taking a look and admiring the beauty of his 3D printed free item as the cars just go by and he closes his eyes and thinks of all his pals over here at Phantom Pilots.
Back on track.
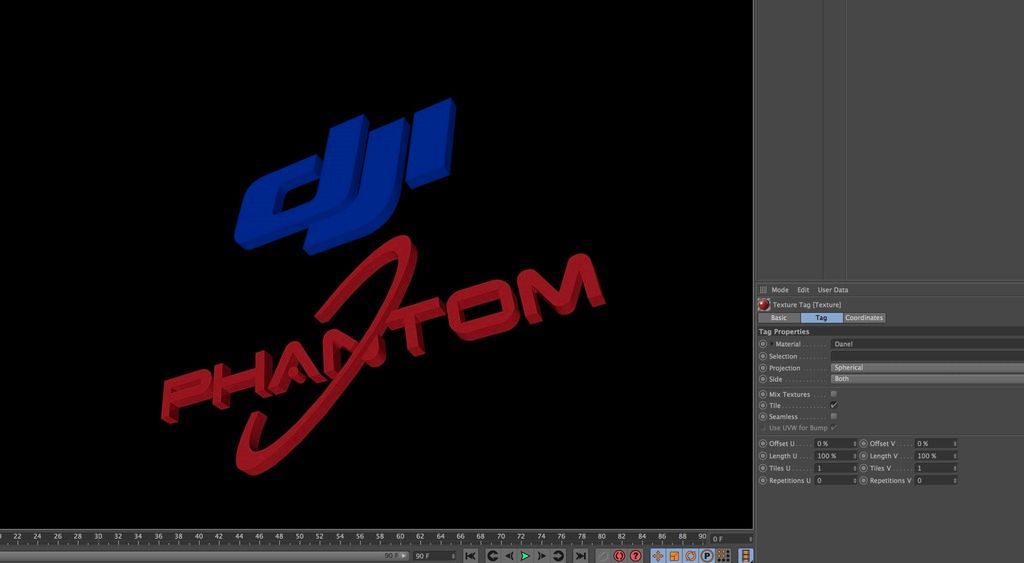
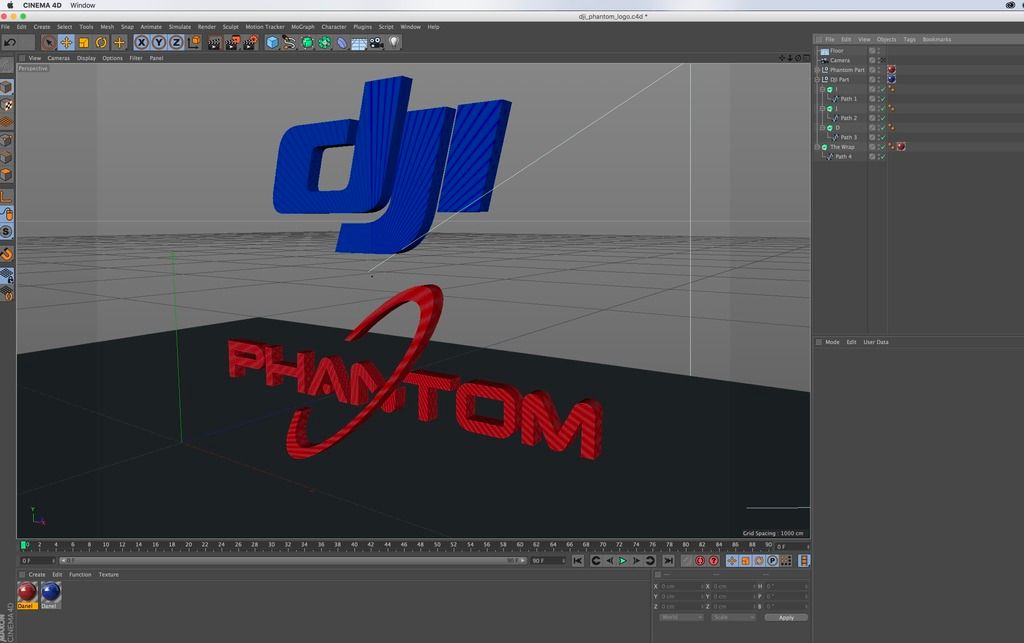
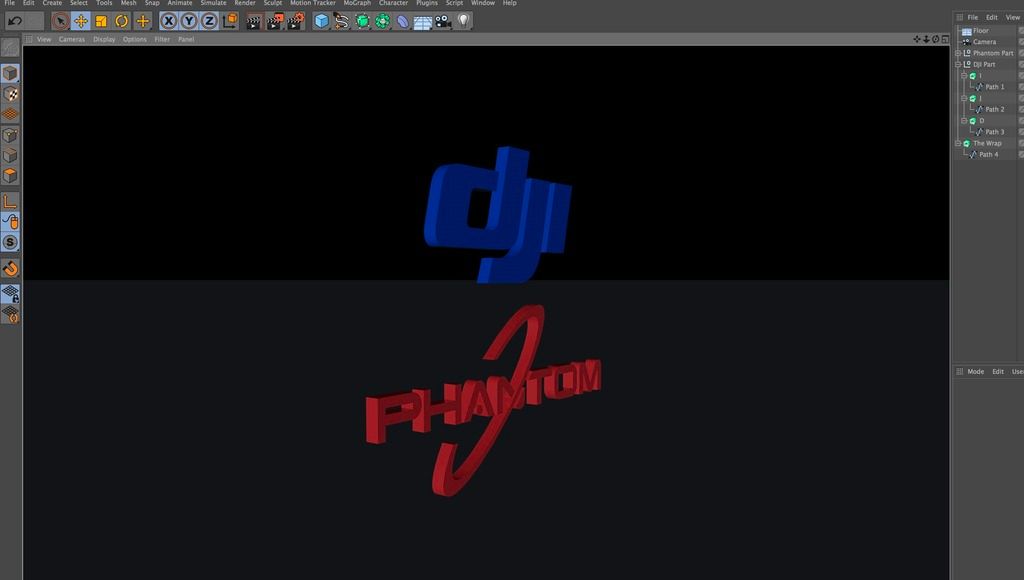
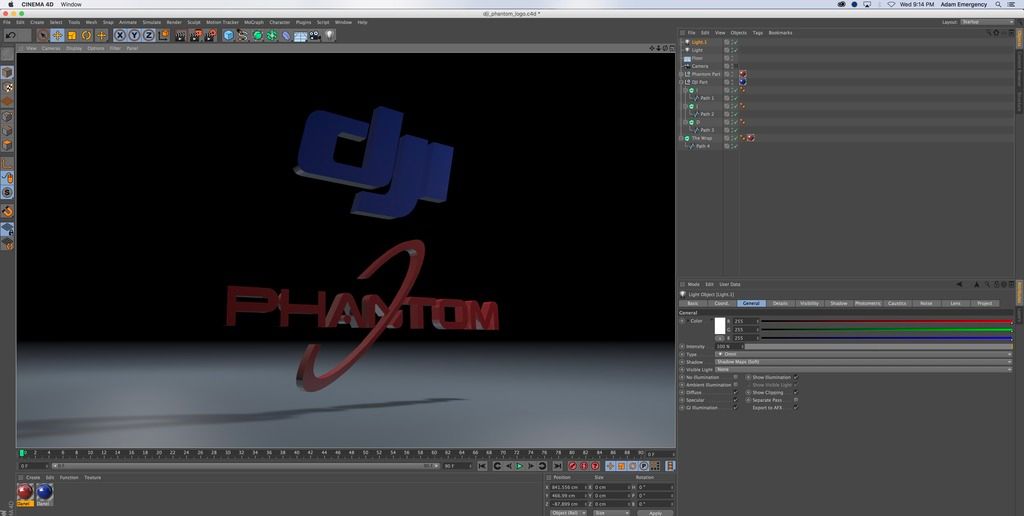
This is how you take a boring 2d image and make it 3D first for AutoCAD (3D printing purposes) and then I touch on some minor texturing and some lighting and some other interesting things. If we want to print something that has moving parts (say a fishing reel to attach to the Phantom), I can rig which there aren't a lot of people that can rig and if they can, they usually aren't great at it. I know this because I am always looking for riggers to help me work on projects (okay, get it out of your system but that's what they are called). In 3D, in a real professional environment such as a major film like Toy Story there is not a guy on a computer animating it. There are riggers, rotoscopers, blockers, lighting people, basically everything that you would have on a real set (actually WAY more, next time you watch an animated film like by Pixar watch the number of people that scroll across the screen as "animators" or "dust busters" or "rotoscopers". It's mind boggling and it's a great gig because it pays well even when getting started, is recession proof and is a service and as most people know, entertainment services are the only job that will never go away but is always changing so if you are a young kid who happened to stumble onto this, don't listen to the doubters that don't think that being a filmmaker is some pie in the sky job. It's not. It's a well paying job and if you learn to be a generalist where you know a lot of things you can get rich doing what you love and not worry that your job will be shipped away (well some jobs have been but not generalists anyhow). Even the cameras are made to mimic real cameras in a virtual world. You choose what type of lens you want, focal distances to create depth of field, and then there are things like lighting. Do you want the light to just light the object, do you want what is called "volumetric lighting" which is a visible kind of light. The best way I can think to describe volumetric would be like if you had a spot light and you shot a bunch of fog at it.
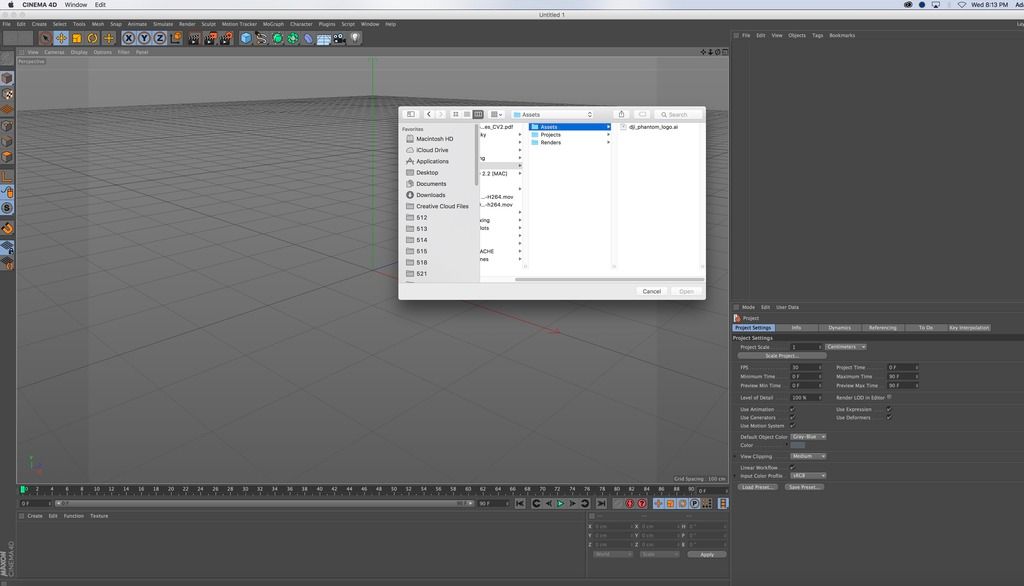
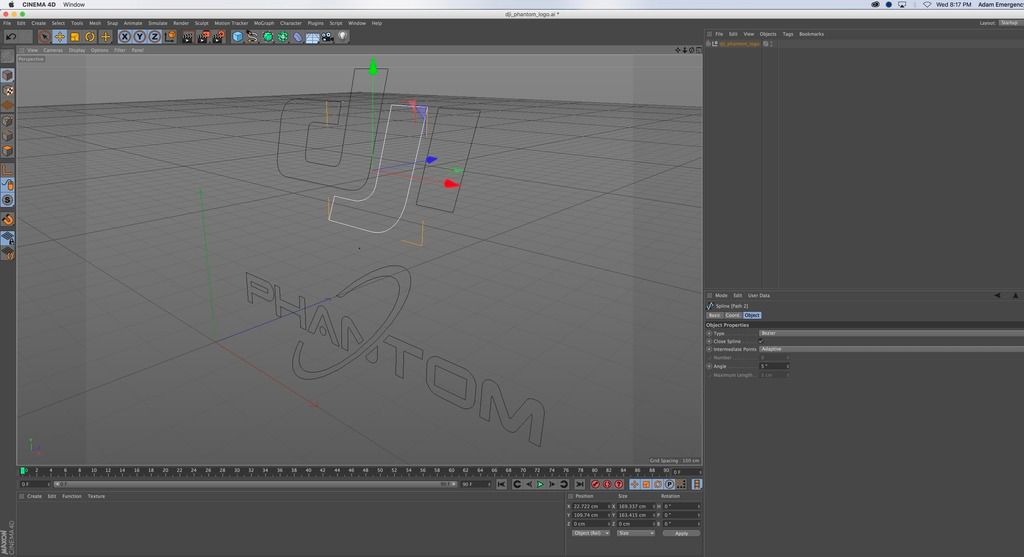
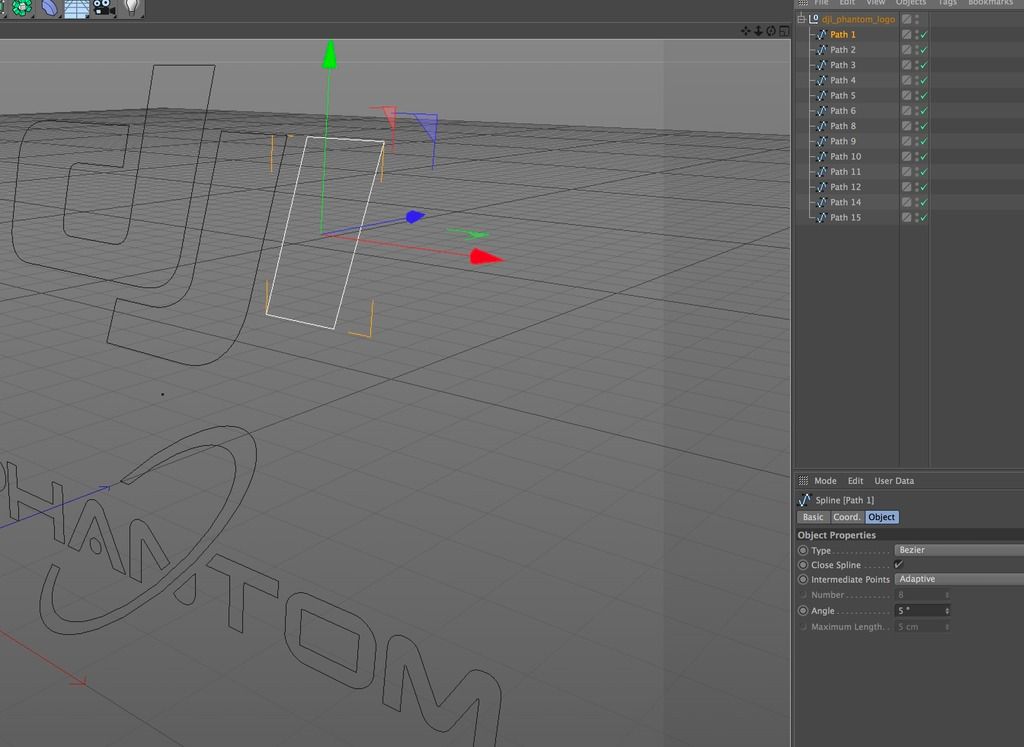
Ok, don't want to overload you with information, after all we really for the purposes of printing need the most basic part of this but I kept going because I am the kind of guy that likes to learn and I also like to teach. Always have so I am going to give you guys a very good little tutorial on how to make 3D objects from vector images. This is a huge skill set to acquire if you want to be a good 3D printer. Yes you can scan things but you can't scan something that doesn't exist so if you want to create something from scratch and make something innovative and never made before then you are going to need to learn how to take a spline (a spline is the word in 3d programs that are basically like a line on a piece of paper but in the 3D world a spline can become a few things). It can be a path that an object is made to follow, it can be extruded, like we are doing here, and several other things. A spline in the 3D world is like learning how to draw your first line across the page in a 2D sketch.
I had only planned on a VERY SIMPLE tutorial on how to extrude a vector image into 3D and that is covered almost right away but I go further with it as evidenced by this huge post but it is what it is. I am ultra tired as I was up late last night and had about 2 hours of sleep and hit a wall about on sentence 2 of this post. I am actually going to take this post and create a new thread because there will be several posts following it right now and I don't want to completely hijack this thread. If only one person is interested in this, I will be totally happy. I have no delusions that there are even a couple of people on this forum that want to learn about advanced 3D modeling that this is not even the driveway to. This is like looking at the house way down the street and thinking about walking to it.
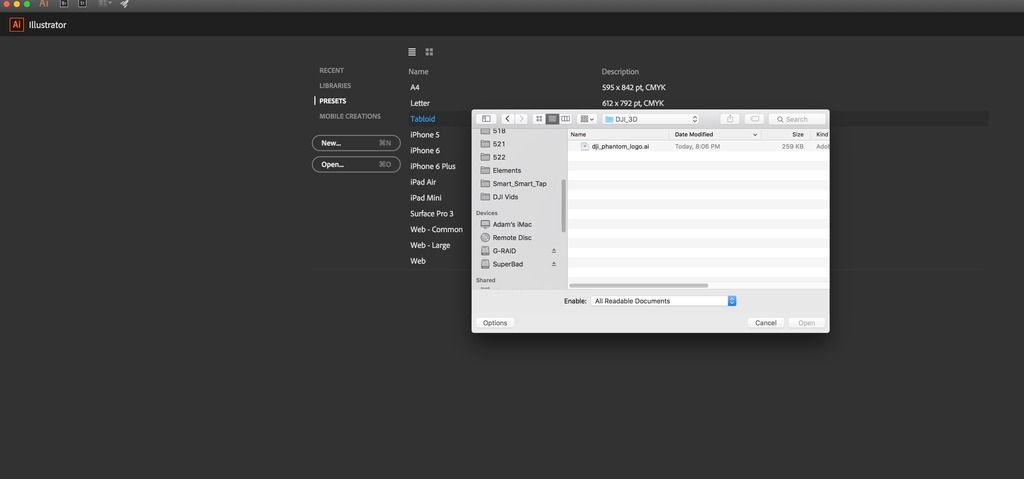
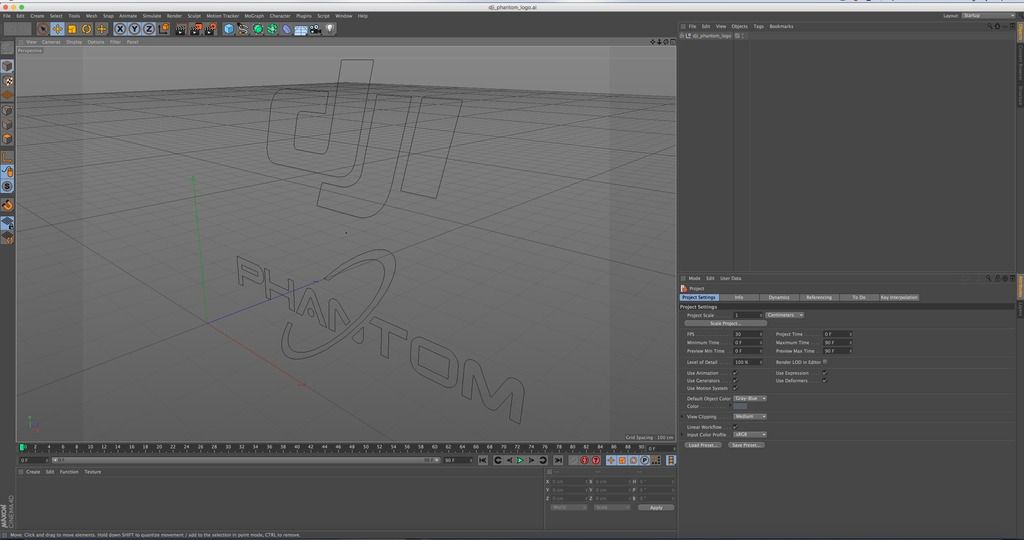
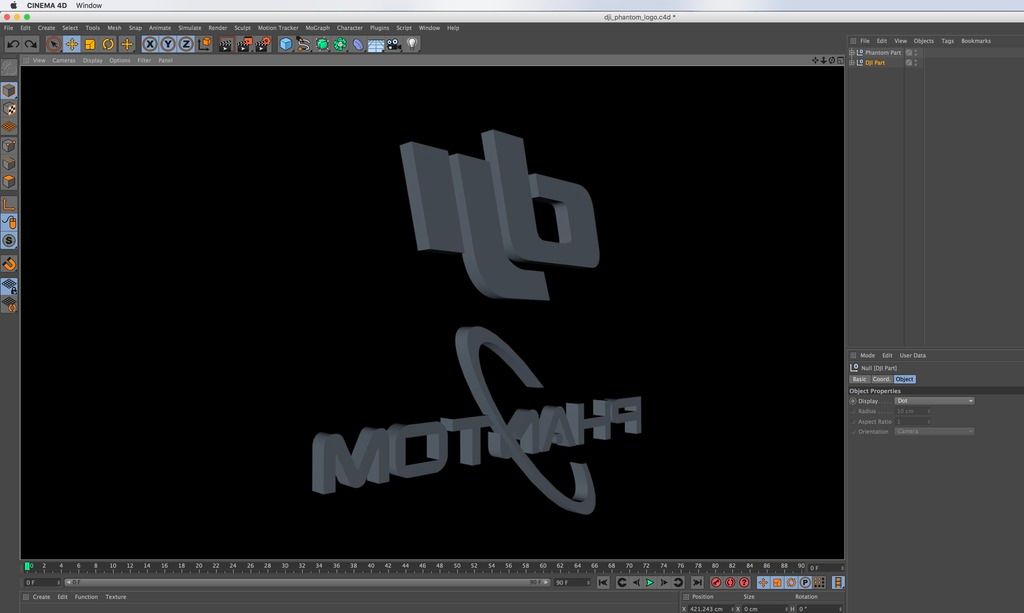
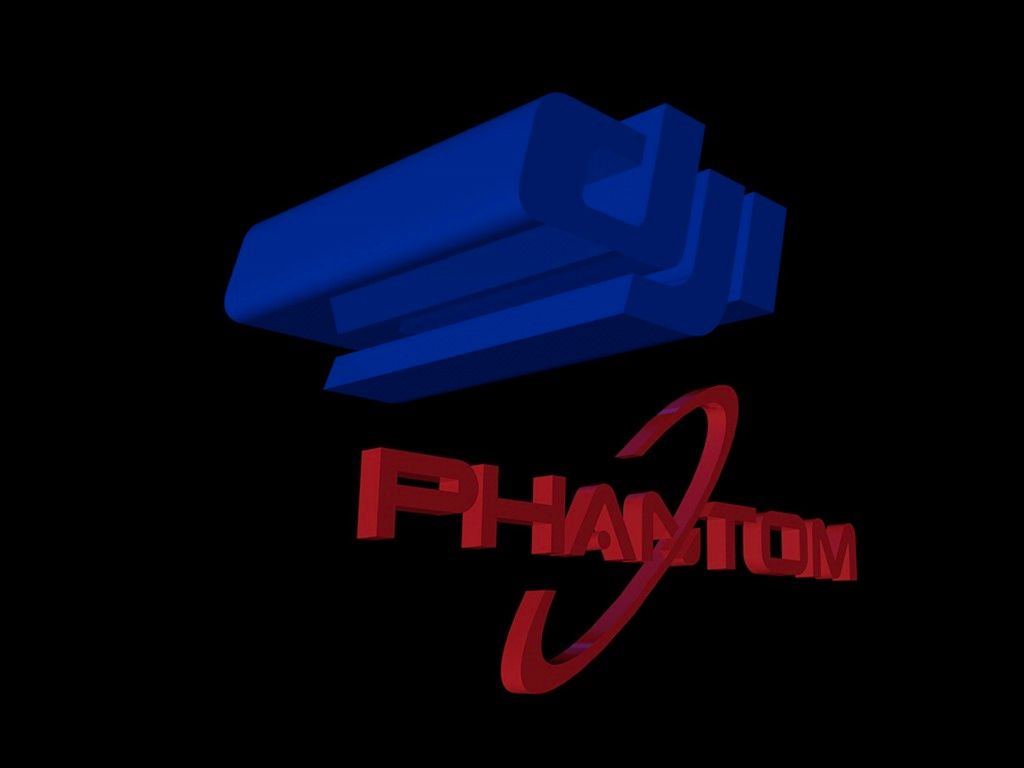
Without further adieu, here is the object we are going to make into a 3D object and put it in a 3D virtual world of our creation.
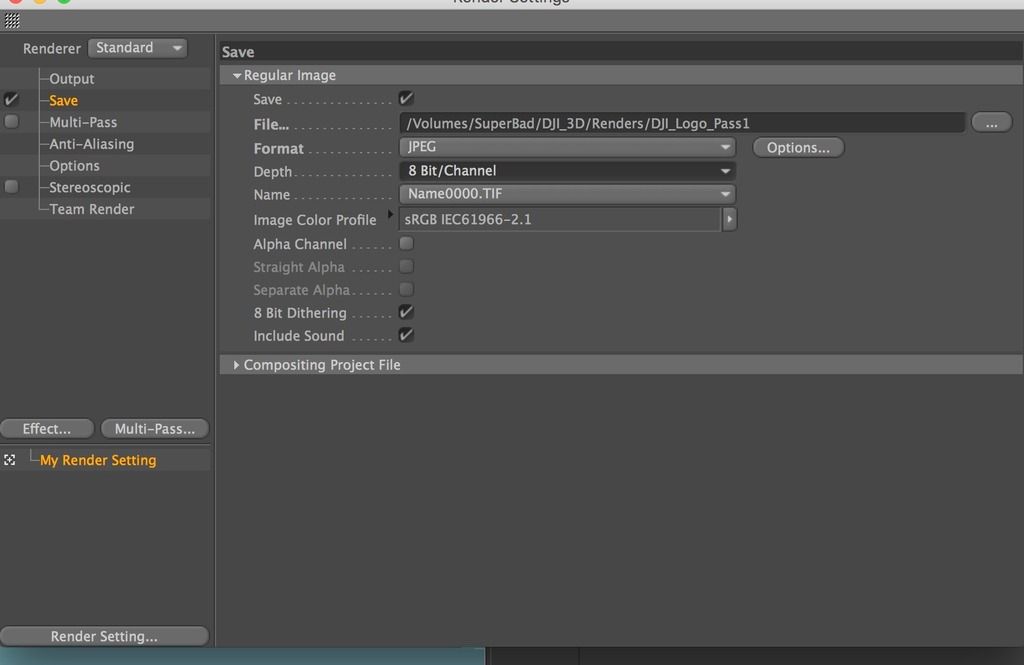
FOR THE 3D PRINTERS that I am making this tutorial for, the creation of the untextured version is all we need, Once we get into lighting and texturing, we are beyond the scope of 3D printing unless doing it to show a prospective investor or something like that. OKAY, I apologize to all, this post has gotten way too long but I am too tired to clean it up but I will tomorrow. For now, I just want to get it all out. This is long winded, even for me. All the information is correct though so if you want to learn, think of it as a book.
Following this post will be another one with some images and explanations. Here is the original image. The next post will be several minutes after this one. I've created the objects and finished everything already, but I still have to write the explanations. Ugh, this sounded like a much quicker idea when I said I would do it.
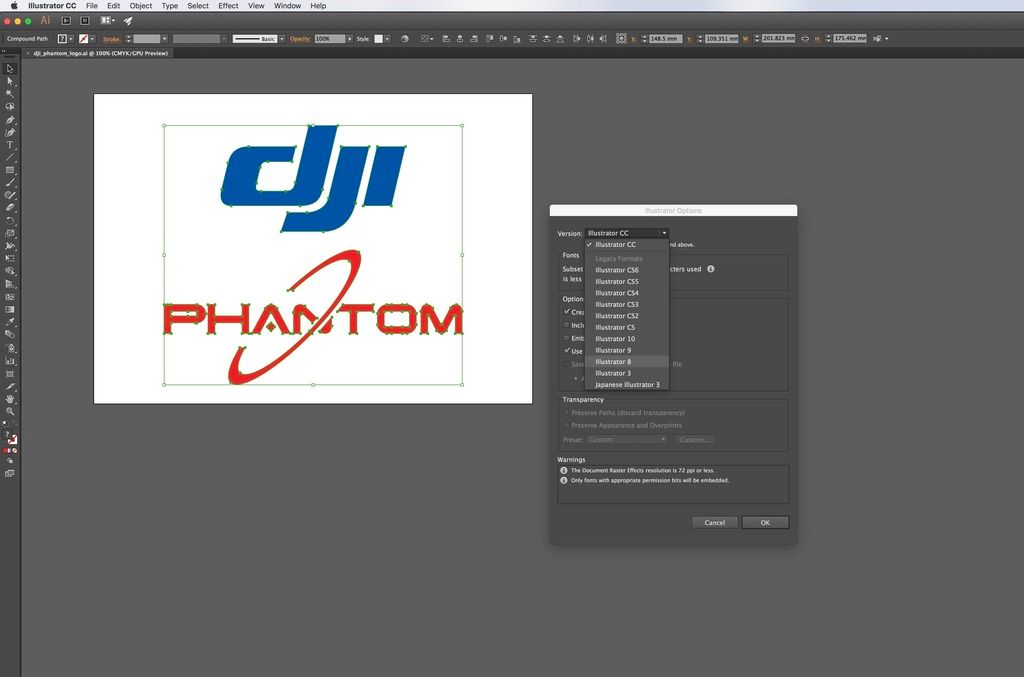
Ok, here is the image:

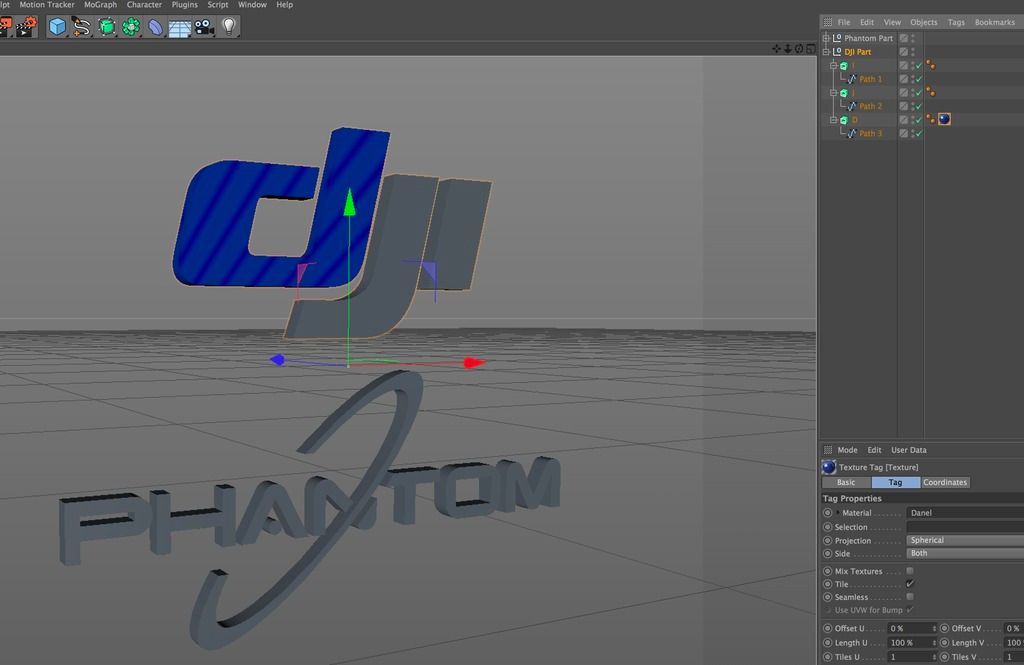
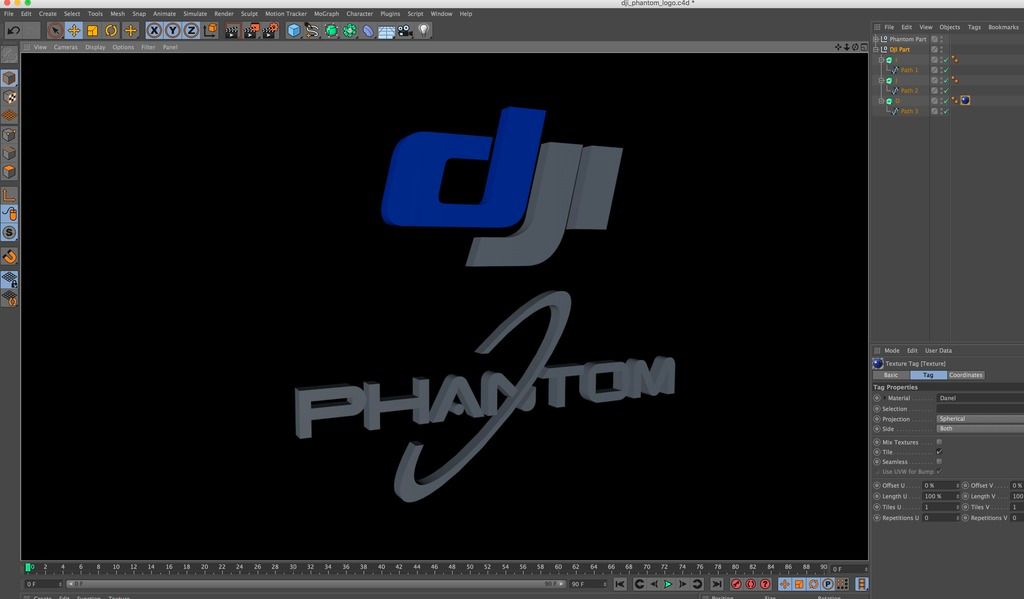
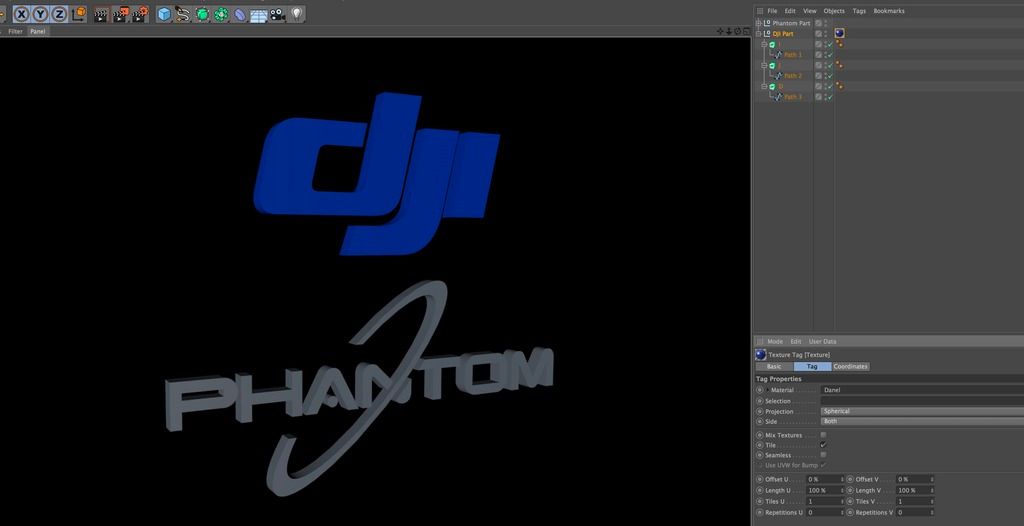
Now, let's make this sucker 3D!
**I was going to put this in the 3D printer thread but when I realized that the posts would hijack the thread and a lot of people wont want to read through all of it, I decided it would be a bad idea to put it in there. If there is someone here that wants it, or maybe a future person just googling how to do it, this is a way. I went a little far with it and it's extremely lengthy in my descriptions from just the first post. I am going to put it all up tonight as it's done but I am going to do it post by post. This is the paste of the reply in that thread. DONT READ IF YOU DONT CARE PLEASE!!!! It also should be noted that why I am showing you a method to create a nifty 3D logo out of a 2D one using a vector image, you can do the same thing in PhotoShop instead of Adobe Illistrator (AI) which reads the paths inehernenly but to do it in PS, you need a very large image, trace the paths or wand them and then "export paths to .ai" which will make more sense at the end of this. Good start huh? lol
Ok. I decided that I am going to post this a little at a time. I was ready for 3D printing (or at least the process of exporting it for 3D printing within the first 10 minutes) but I decided to give you guys a little tutorial on how to use extrude nurbs with splines in Cinema 4D to create cool looking logos. For example, if someone from Phantom Pilots were to give me there vector logo, I could make them a 3D chrome, awesome looking 3D NFL like logo. If one of you guys want to give it to me, I would be happy to do it for free since you guys have been so nice to me.
Seriously, if you want a 3D version of your logo, send it over to me (the .ai version).
****DISCLAIMER DISCLAIMER DISCLAIMER ---- I said earlier that I would show you guys how to make a vector image into a 3D object and that's what I am doing. I came back to make this discaimer because I am doing this out of the kindness of my heart. People would pay me good money to teach them how to do some of the minor things were going to do here but in the world of 3D, it's not editing. Editing compared to 3D is like learning your ABCs vs advanced trigonometry. This quasi-tutorial (it would be an actual tutorial if it was video and a lot easier to explain, and I might make one for you guys if anyone is interested, but while this is very simple to me and in reality it is once everything on the screen isn't foriegn to you but this is not editing. This is serious work and there is geometry, measuring, etc. The 3D printers are not going to be phased by it but people that are for sure going to tell me it's long winded and this that and the other and TLDR, etc, cool, just stop here. If you don't have an interest in learning just the VERY BASIC art of creating a 3D piece of work than just stop reading from here. If you are interested, I urge you to keep trying to follow along and not be concerned with how difficult if this is your first go at 3D as this is as simple as it gets but can be a little daunting if you have never really done anything in a 3D app. If you have, this is going to be so rediculously simple that you are going to wonder why I am saying so much but I am and have been an instructor at two universities and while I hate teaching via text, I have a purpose for everything I am saying whether it's obvious now or not. IF PEOPLE DON'T WANT WHAT I AM TELLING YOU NOW BECAUSE IT IS NOT CONCISE AND IS IN FACT FULL OF WORDS THEN PLEASE JUST MOVE ON. YOU DON'T HAVE TO DO THIS. THERE WILL BE NO TEST. STILL SOMEONE WILL FRIGGEN COMPLAIN FOR SURE. There is so much negativity on this forum that it's a shame that I have to be nervous to post a free good tutorial on how to do something that could help the people that have 3D printers which is my purpose and what I said I would do. I am, as evidenced by this paragraph, long winded, sometimes repetitive and so forth, but I am not going to spend hours and hours re-writing and fixing spelling and grammatical errors unless someone wants to pay me. In the meantime, I am happy to, and even enjoy imparting some of the knowledge I posses. If this catches any single person's interest and they want to go further, I am happy to. AutoCAD (thats the simplest part because it's just basically modeling with no lighting or texturing) but I have worked on many major films where I have put 3D models of mocap ninjas, the dog in The Fog, I did a ton of rotoscoping on Titanic, so we can go as far as you guys want or we can just stay at CAD. The project that I am now going to show you screen captures on will hopefully shed light on what is happening as it really is simple but if you don't know what you're looking at, I suppose it can be scary. I have lost my ability to see what is obvious or not simply by the amount of years I've been doing it.
So, we were discussing 3D printing and I offered to help anyone create a 3D model if they had a idea but don't have the knowledge or the sculpting capabilities to create it. There is more to it than just modeling in 3D printing as even in the 3D (CAD) portion of the project, you need to be aware of not actual dimensions but ratios as most of the programs that you will export to for final processing to make a 3D printable file, will look at ratios, or at least somehow be able to convert for example, if I'm calling my model 6 feet by 2 feet, with the press of a key I can make it 6 centimeter by 2 centimeters. Now keep in mind that once we get out of the 3D world of Cinema 4d, Maya, 3DS Max or whatever program we are using to create the model that is where my knowledge goes away and I am just working on general theory. Hence the reason I am willing to create 3D models which I normally charge quite a bit for, for free. I would love to collaborate to learn the whole process of 3D printing so someone who has a pretty good 3D printer, please, use me.
Take my skill set as a modeler and lets see an item through to completion. I will suggest lets keep it simple first. How about something for the community. I mean there is nothing I would like more than to make a key chain for @Phantom fool because he is just the kindest person and unprovoked labeling of me as "full of crap" should be rewarded and it is my desire to make him a 3D printed logo with his name (with the fool extra large) that he could use as a key chain so that when he is driving down the road he is so impressed by it, he just keeps taking a look and admiring the beauty of his 3D printed free item as the cars just go by and he closes his eyes and thinks of all his pals over here at Phantom Pilots.
Back on track.
This is how you take a boring 2d image and make it 3D first for AutoCAD (3D printing purposes) and then I touch on some minor texturing and some lighting and some other interesting things. If we want to print something that has moving parts (say a fishing reel to attach to the Phantom), I can rig which there aren't a lot of people that can rig and if they can, they usually aren't great at it. I know this because I am always looking for riggers to help me work on projects (okay, get it out of your system but that's what they are called). In 3D, in a real professional environment such as a major film like Toy Story there is not a guy on a computer animating it. There are riggers, rotoscopers, blockers, lighting people, basically everything that you would have on a real set (actually WAY more, next time you watch an animated film like by Pixar watch the number of people that scroll across the screen as "animators" or "dust busters" or "rotoscopers". It's mind boggling and it's a great gig because it pays well even when getting started, is recession proof and is a service and as most people know, entertainment services are the only job that will never go away but is always changing so if you are a young kid who happened to stumble onto this, don't listen to the doubters that don't think that being a filmmaker is some pie in the sky job. It's not. It's a well paying job and if you learn to be a generalist where you know a lot of things you can get rich doing what you love and not worry that your job will be shipped away (well some jobs have been but not generalists anyhow). Even the cameras are made to mimic real cameras in a virtual world. You choose what type of lens you want, focal distances to create depth of field, and then there are things like lighting. Do you want the light to just light the object, do you want what is called "volumetric lighting" which is a visible kind of light. The best way I can think to describe volumetric would be like if you had a spot light and you shot a bunch of fog at it.
Ok, don't want to overload you with information, after all we really for the purposes of printing need the most basic part of this but I kept going because I am the kind of guy that likes to learn and I also like to teach. Always have so I am going to give you guys a very good little tutorial on how to make 3D objects from vector images. This is a huge skill set to acquire if you want to be a good 3D printer. Yes you can scan things but you can't scan something that doesn't exist so if you want to create something from scratch and make something innovative and never made before then you are going to need to learn how to take a spline (a spline is the word in 3d programs that are basically like a line on a piece of paper but in the 3D world a spline can become a few things). It can be a path that an object is made to follow, it can be extruded, like we are doing here, and several other things. A spline in the 3D world is like learning how to draw your first line across the page in a 2D sketch.
I had only planned on a VERY SIMPLE tutorial on how to extrude a vector image into 3D and that is covered almost right away but I go further with it as evidenced by this huge post but it is what it is. I am ultra tired as I was up late last night and had about 2 hours of sleep and hit a wall about on sentence 2 of this post. I am actually going to take this post and create a new thread because there will be several posts following it right now and I don't want to completely hijack this thread. If only one person is interested in this, I will be totally happy. I have no delusions that there are even a couple of people on this forum that want to learn about advanced 3D modeling that this is not even the driveway to. This is like looking at the house way down the street and thinking about walking to it.
Without further adieu, here is the object we are going to make into a 3D object and put it in a 3D virtual world of our creation.
FOR THE 3D PRINTERS that I am making this tutorial for, the creation of the untextured version is all we need, Once we get into lighting and texturing, we are beyond the scope of 3D printing unless doing it to show a prospective investor or something like that. OKAY, I apologize to all, this post has gotten way too long but I am too tired to clean it up but I will tomorrow. For now, I just want to get it all out. This is long winded, even for me. All the information is correct though so if you want to learn, think of it as a book.
Following this post will be another one with some images and explanations. Here is the original image. The next post will be several minutes after this one. I've created the objects and finished everything already, but I still have to write the explanations. Ugh, this sounded like a much quicker idea when I said I would do it.
Ok, here is the image:
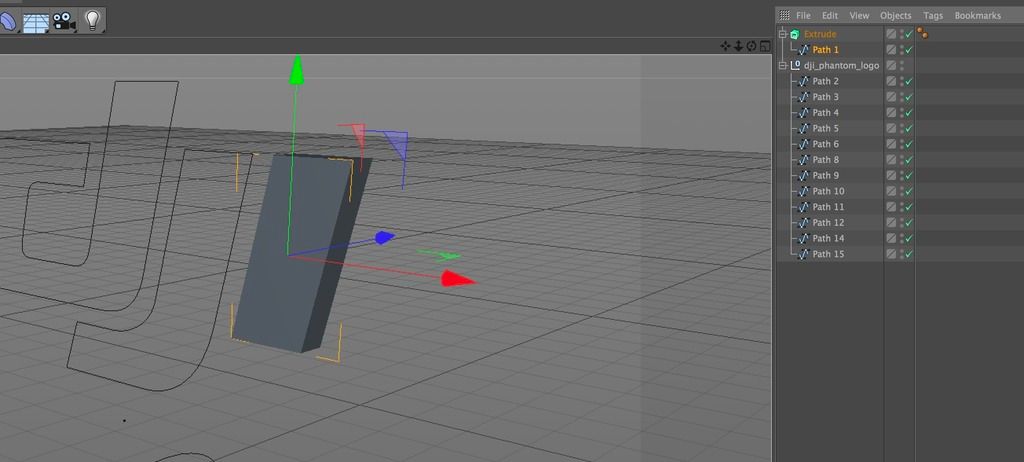
Now, let's make this sucker 3D!
Last edited: